


Specifying a custom perforation pattern for a commercial ceiling project involves more decisions than a standard ceiling tile selection. Pattern geometry, density, hole size, colour, acoustic performance, and grid compatibility all need to be confirmed before the panels go to manufacture. This guide walks through each decision in order — and explains how VEIL Studio, our online design tool, handles the full specification in a single session.
Step 1: Define the visual intent
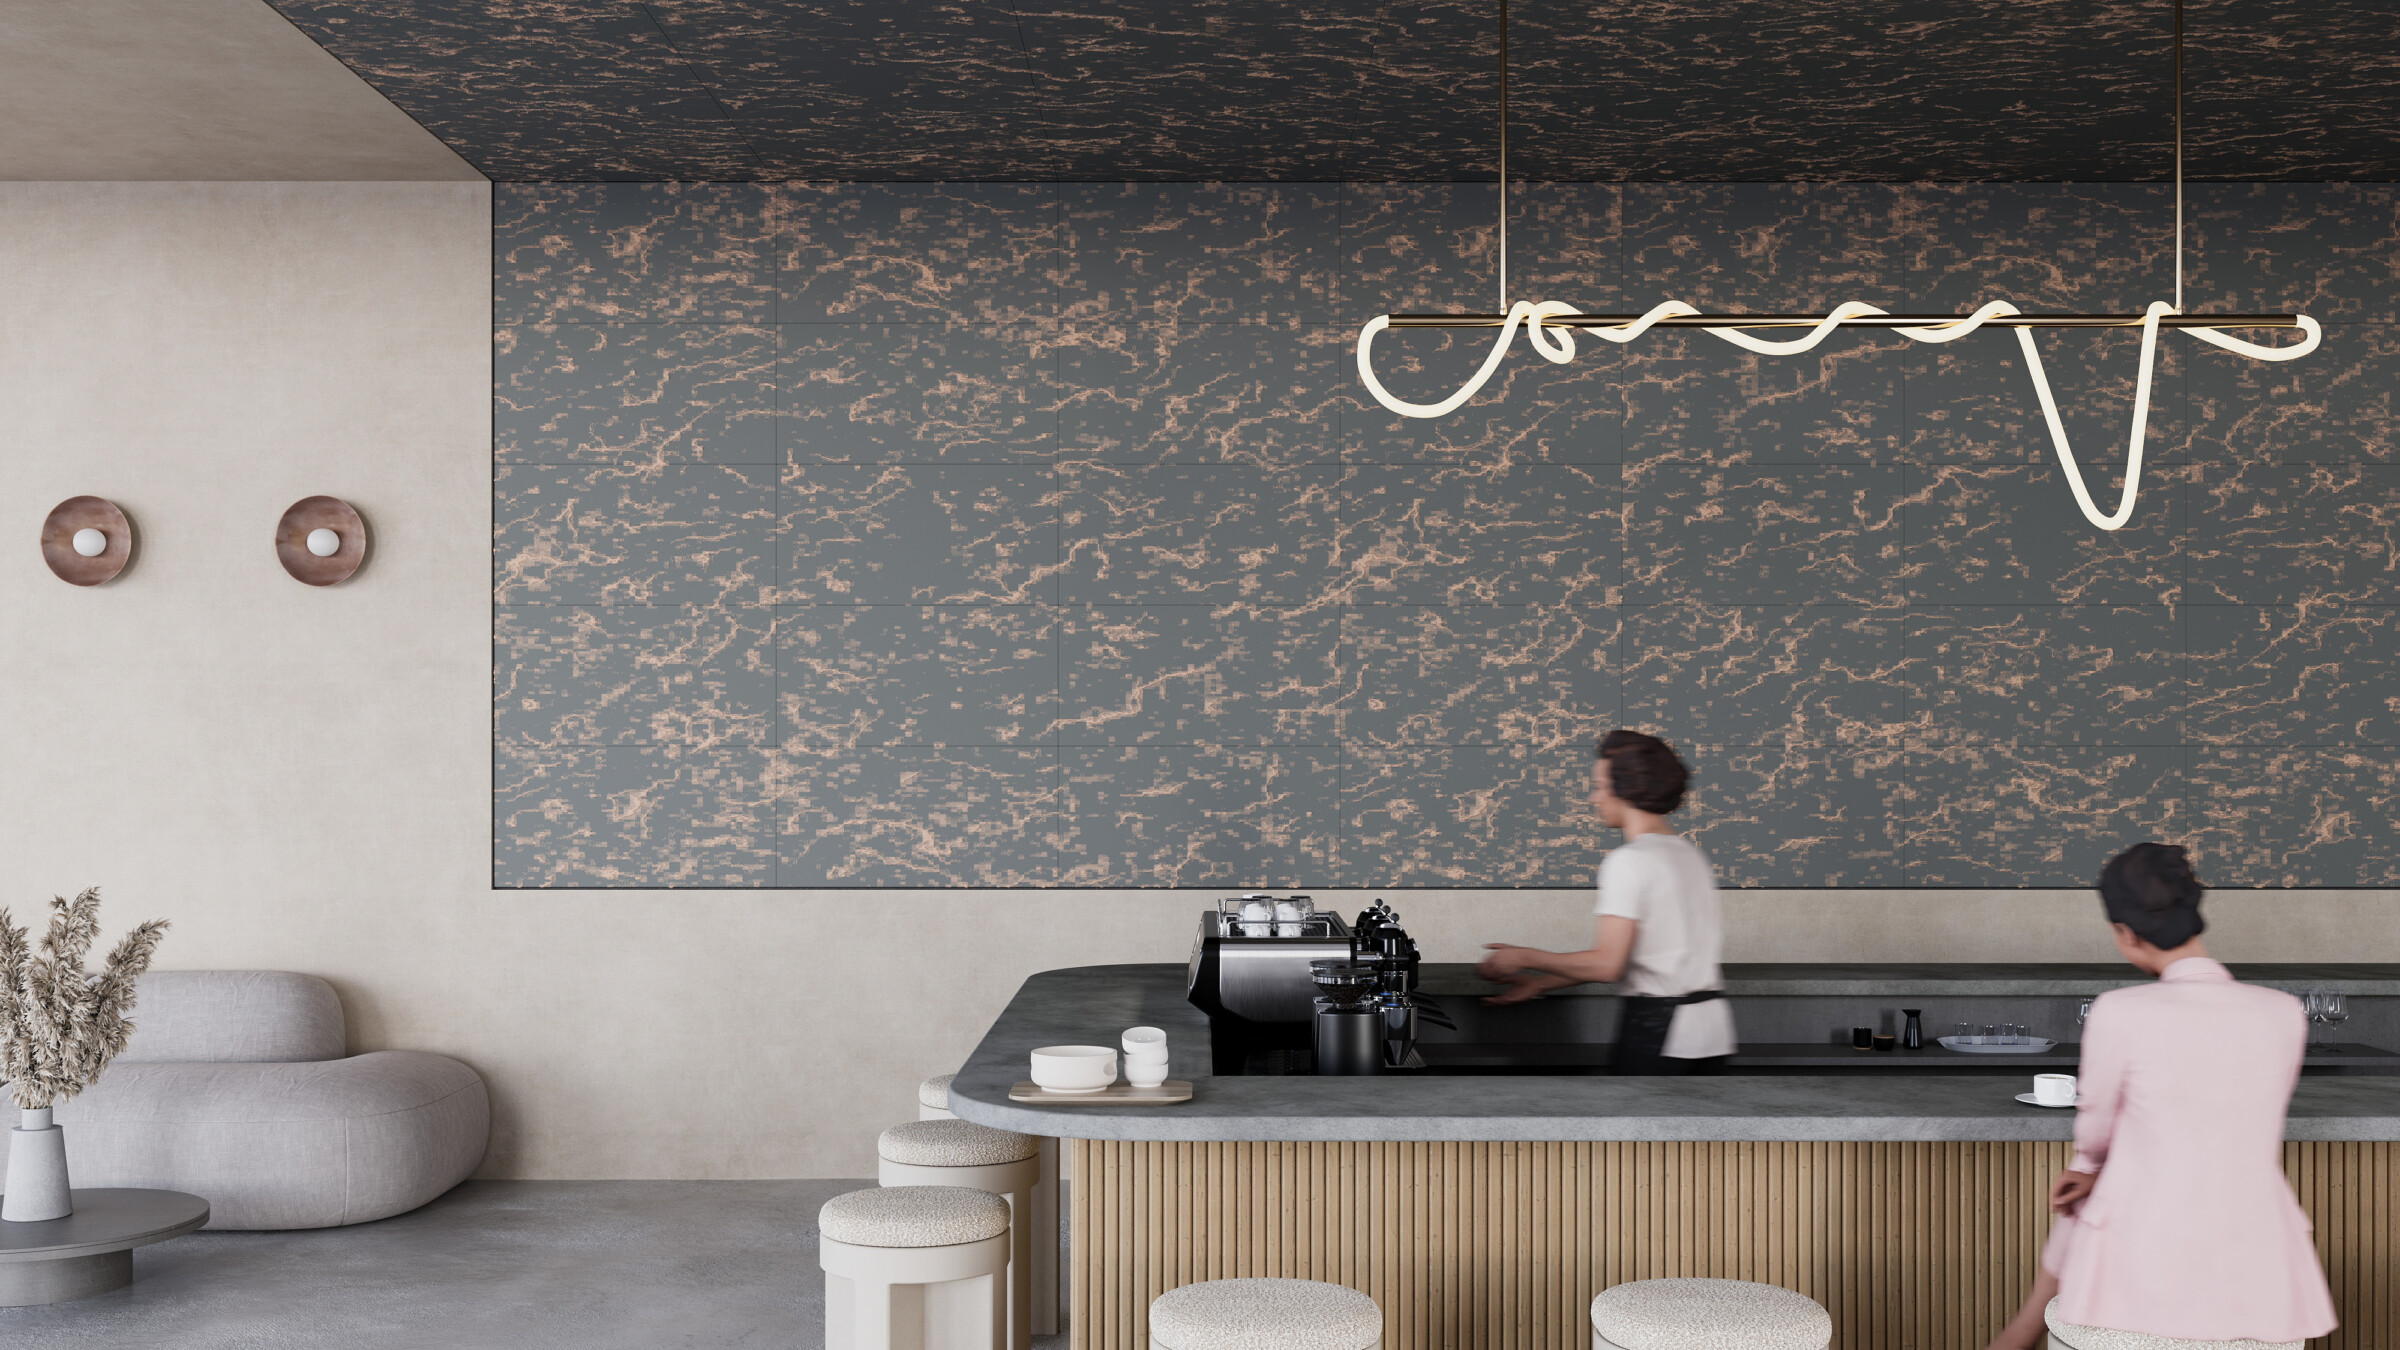
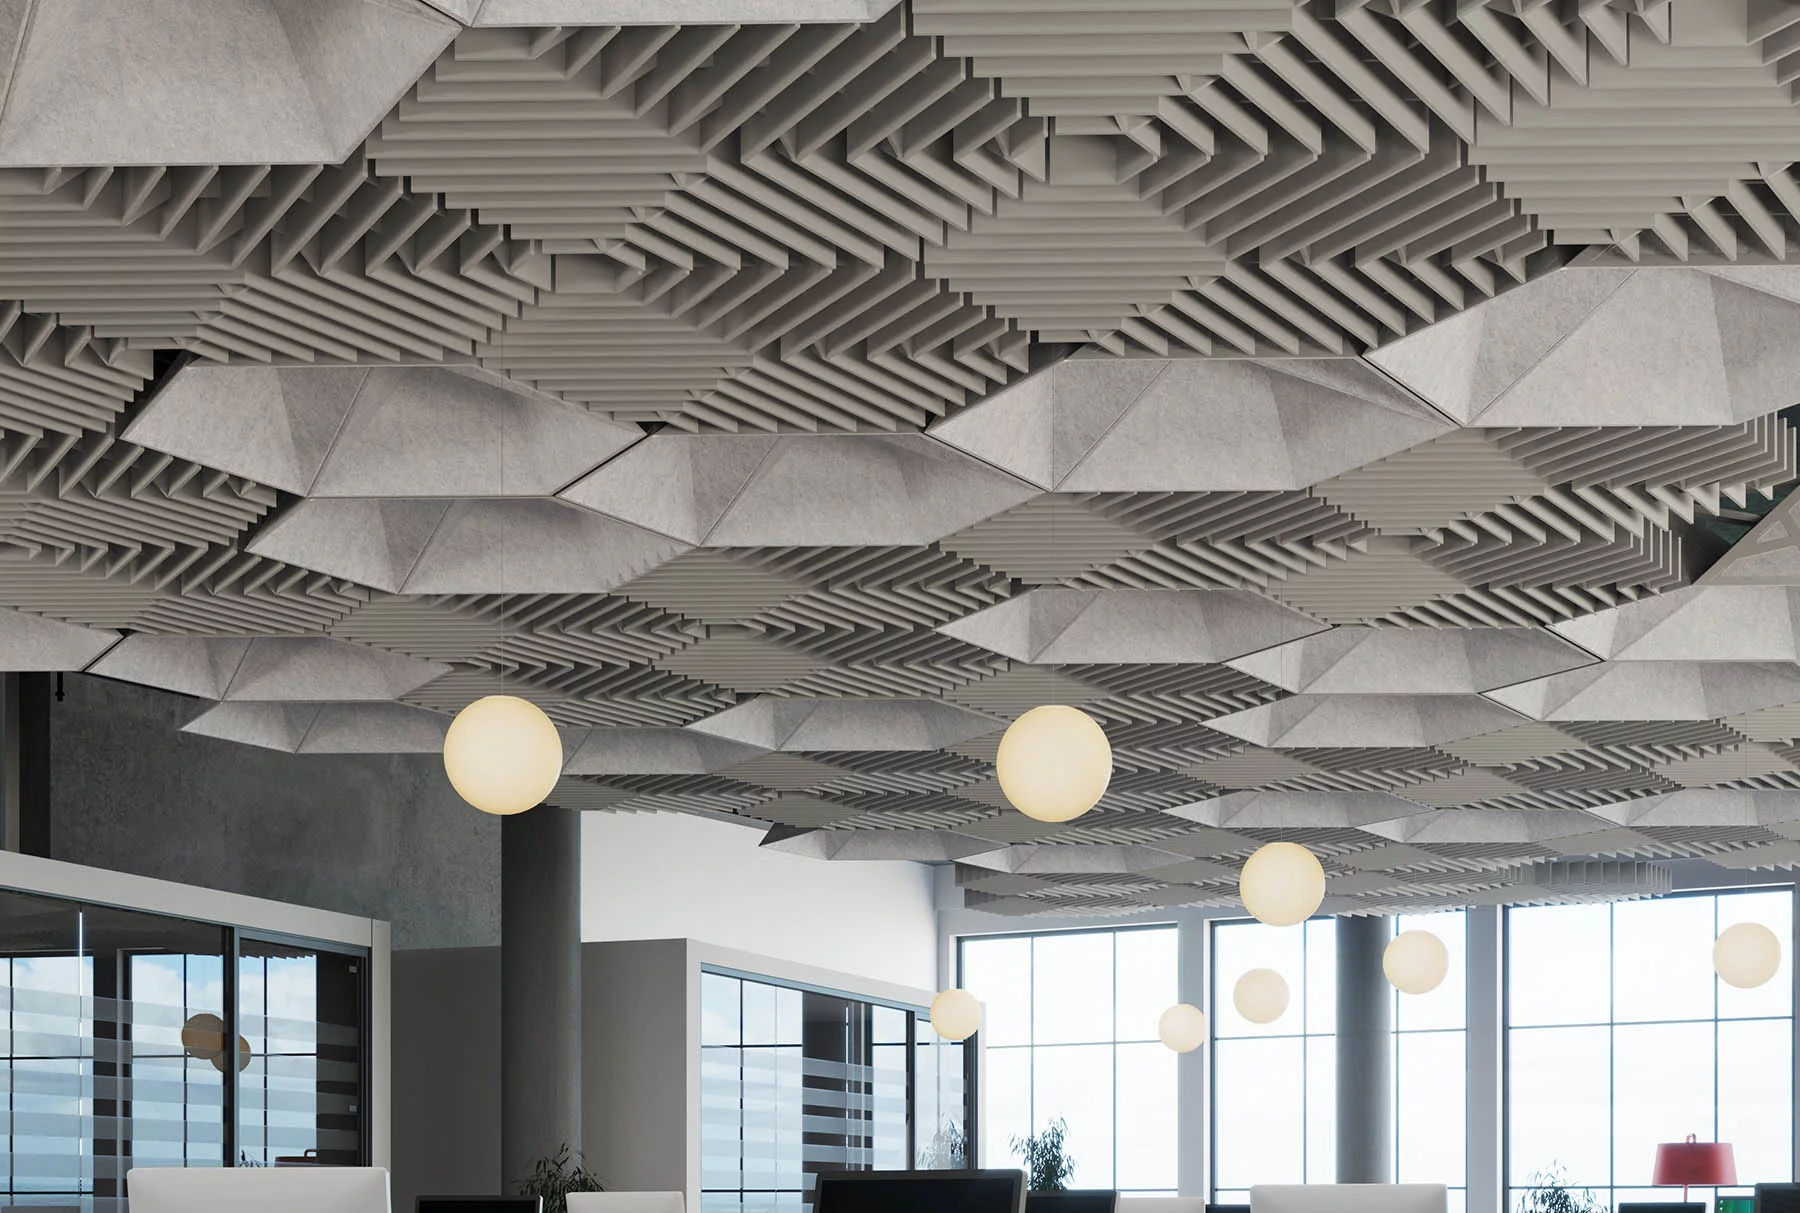
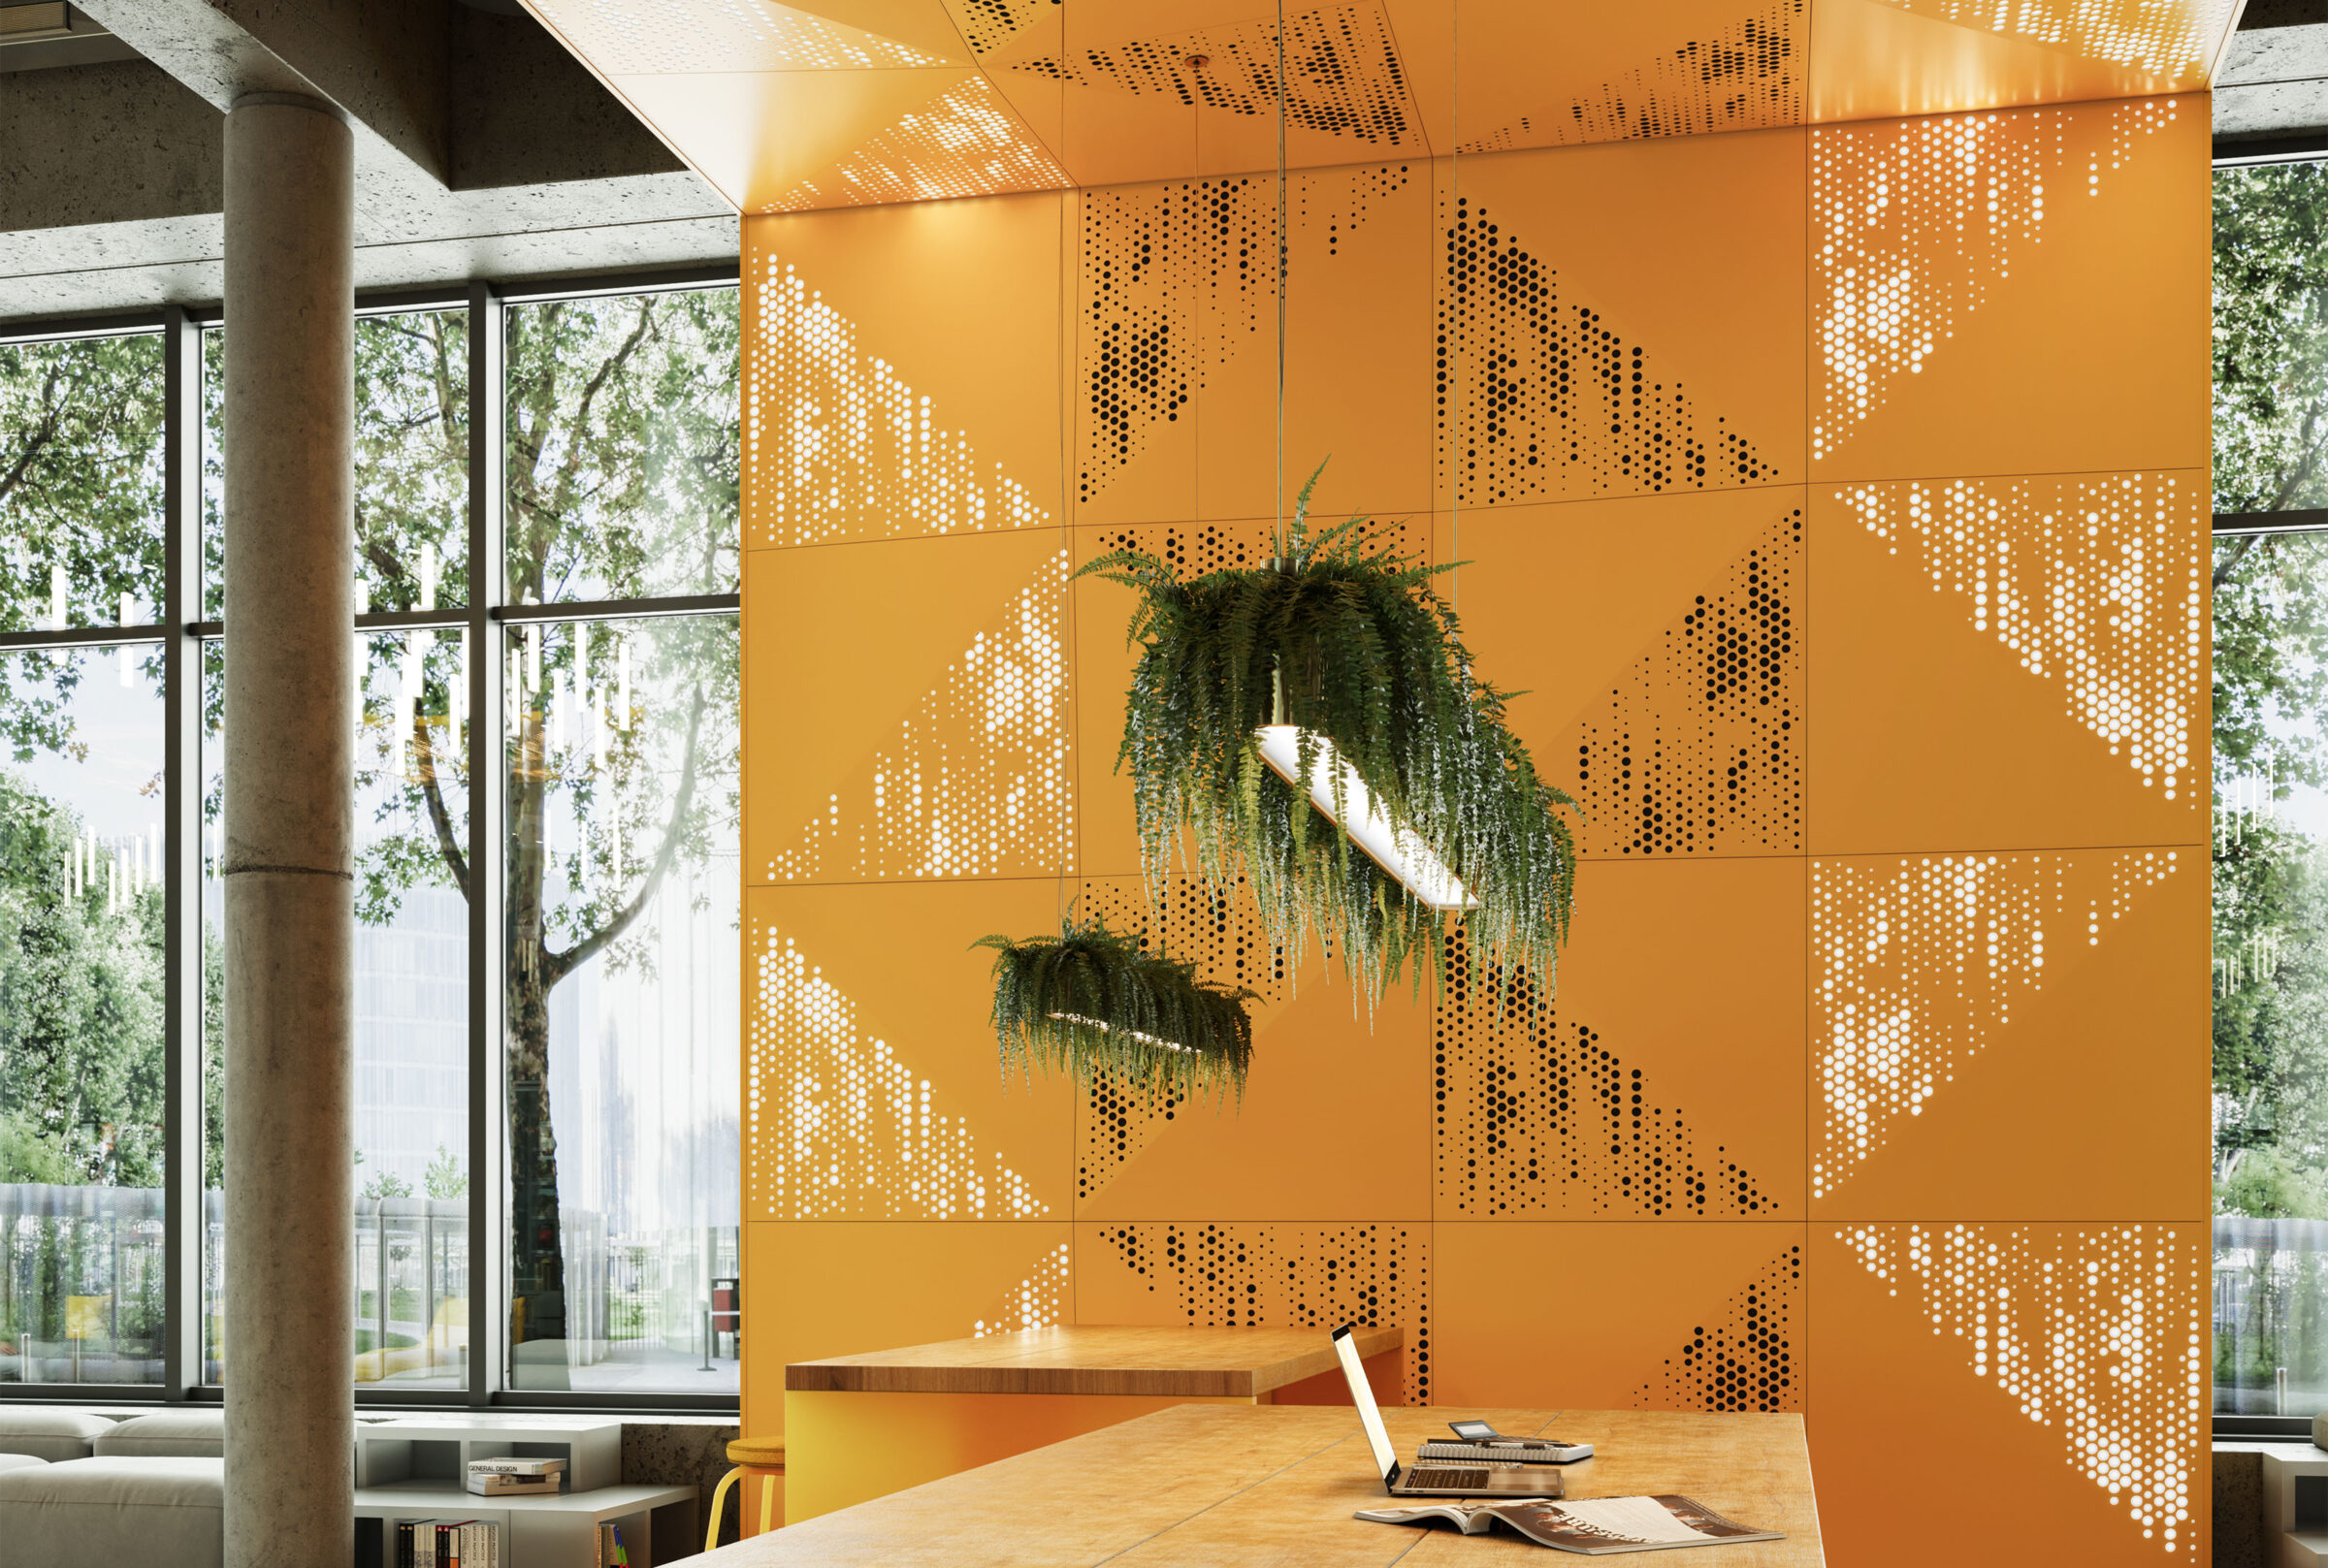
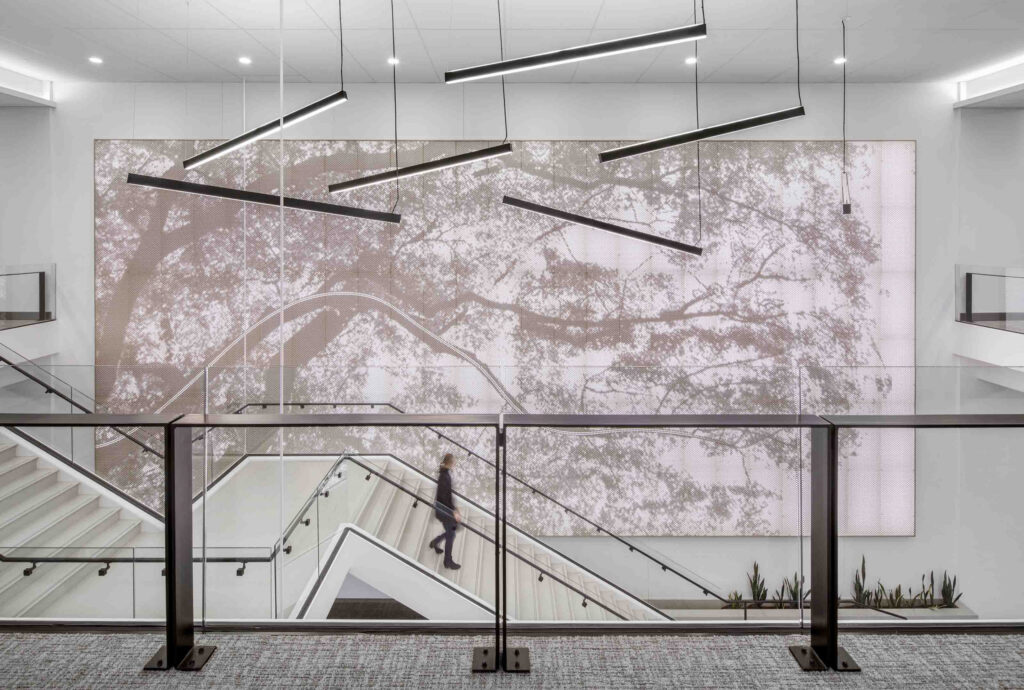
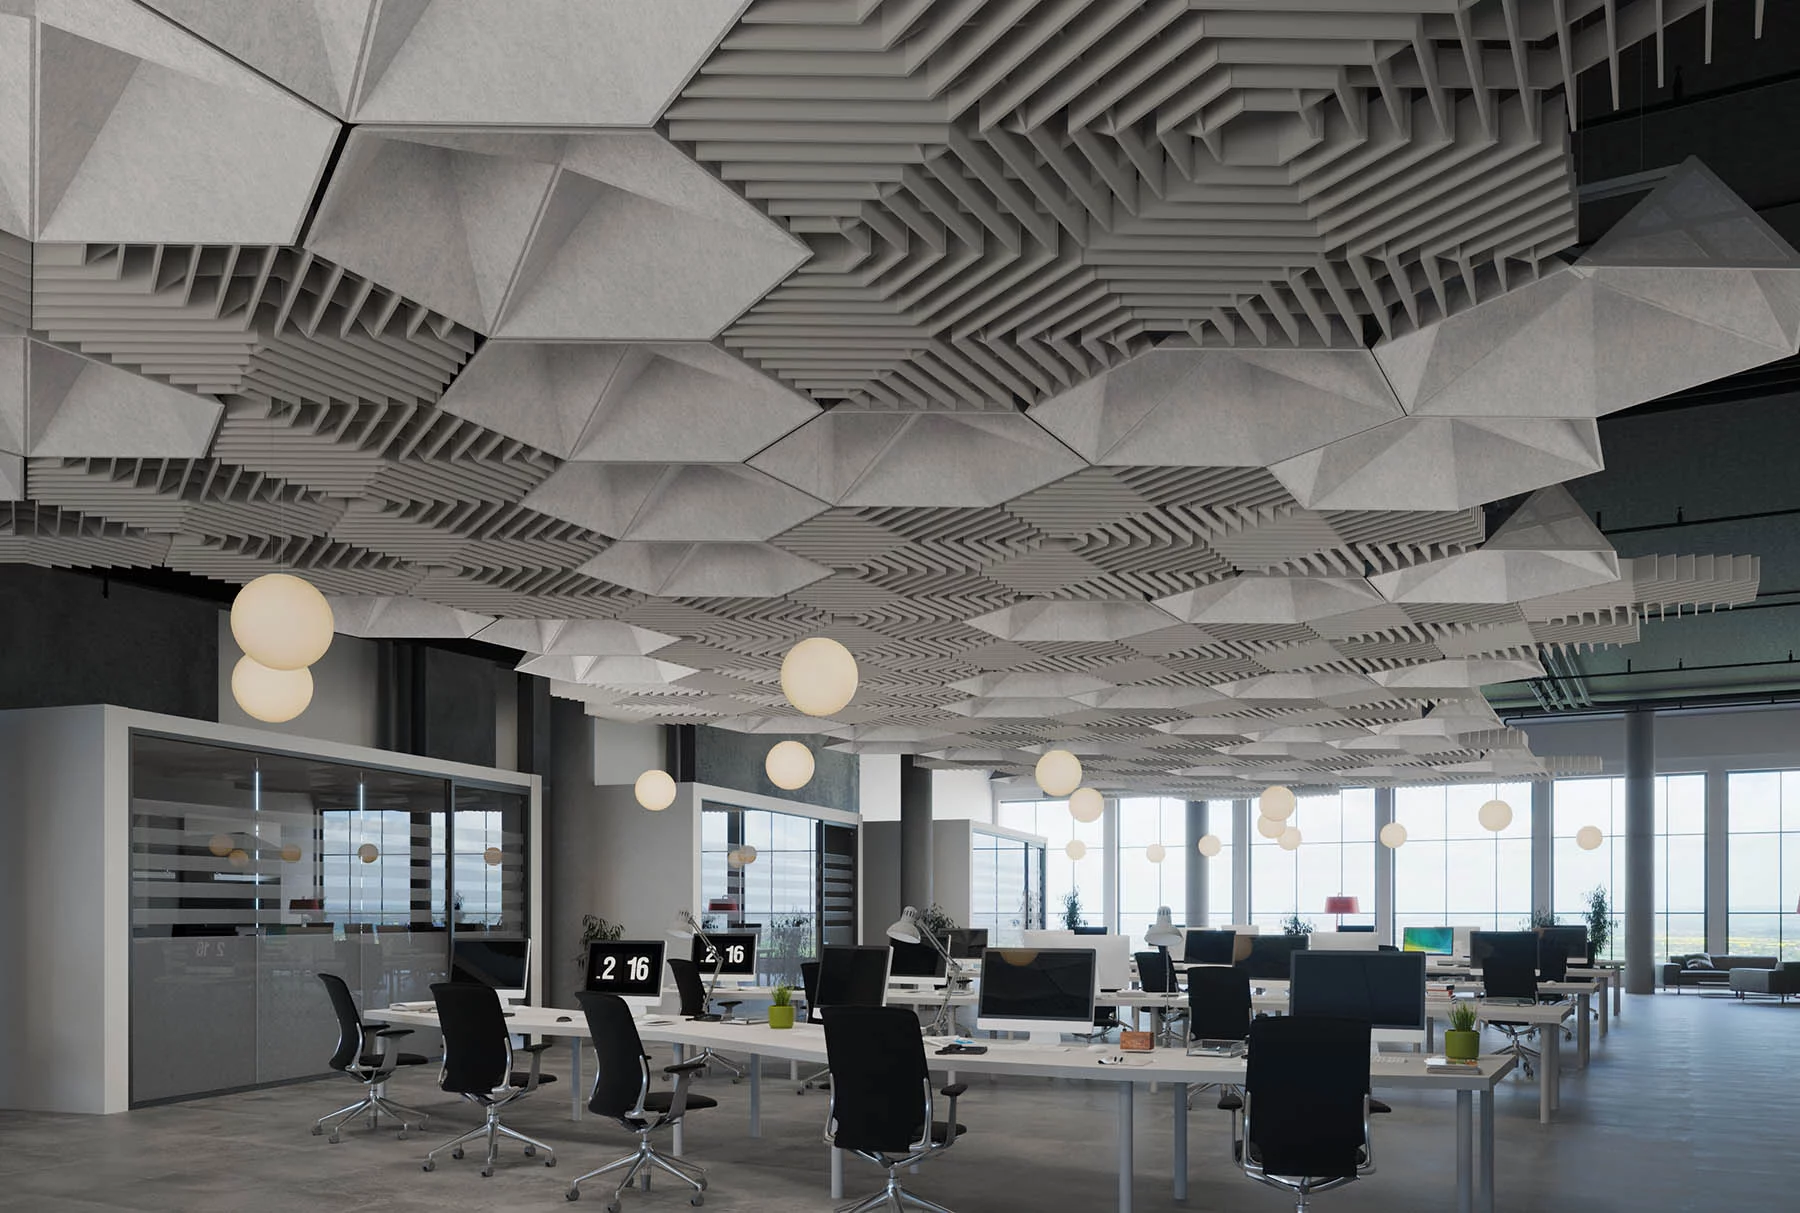
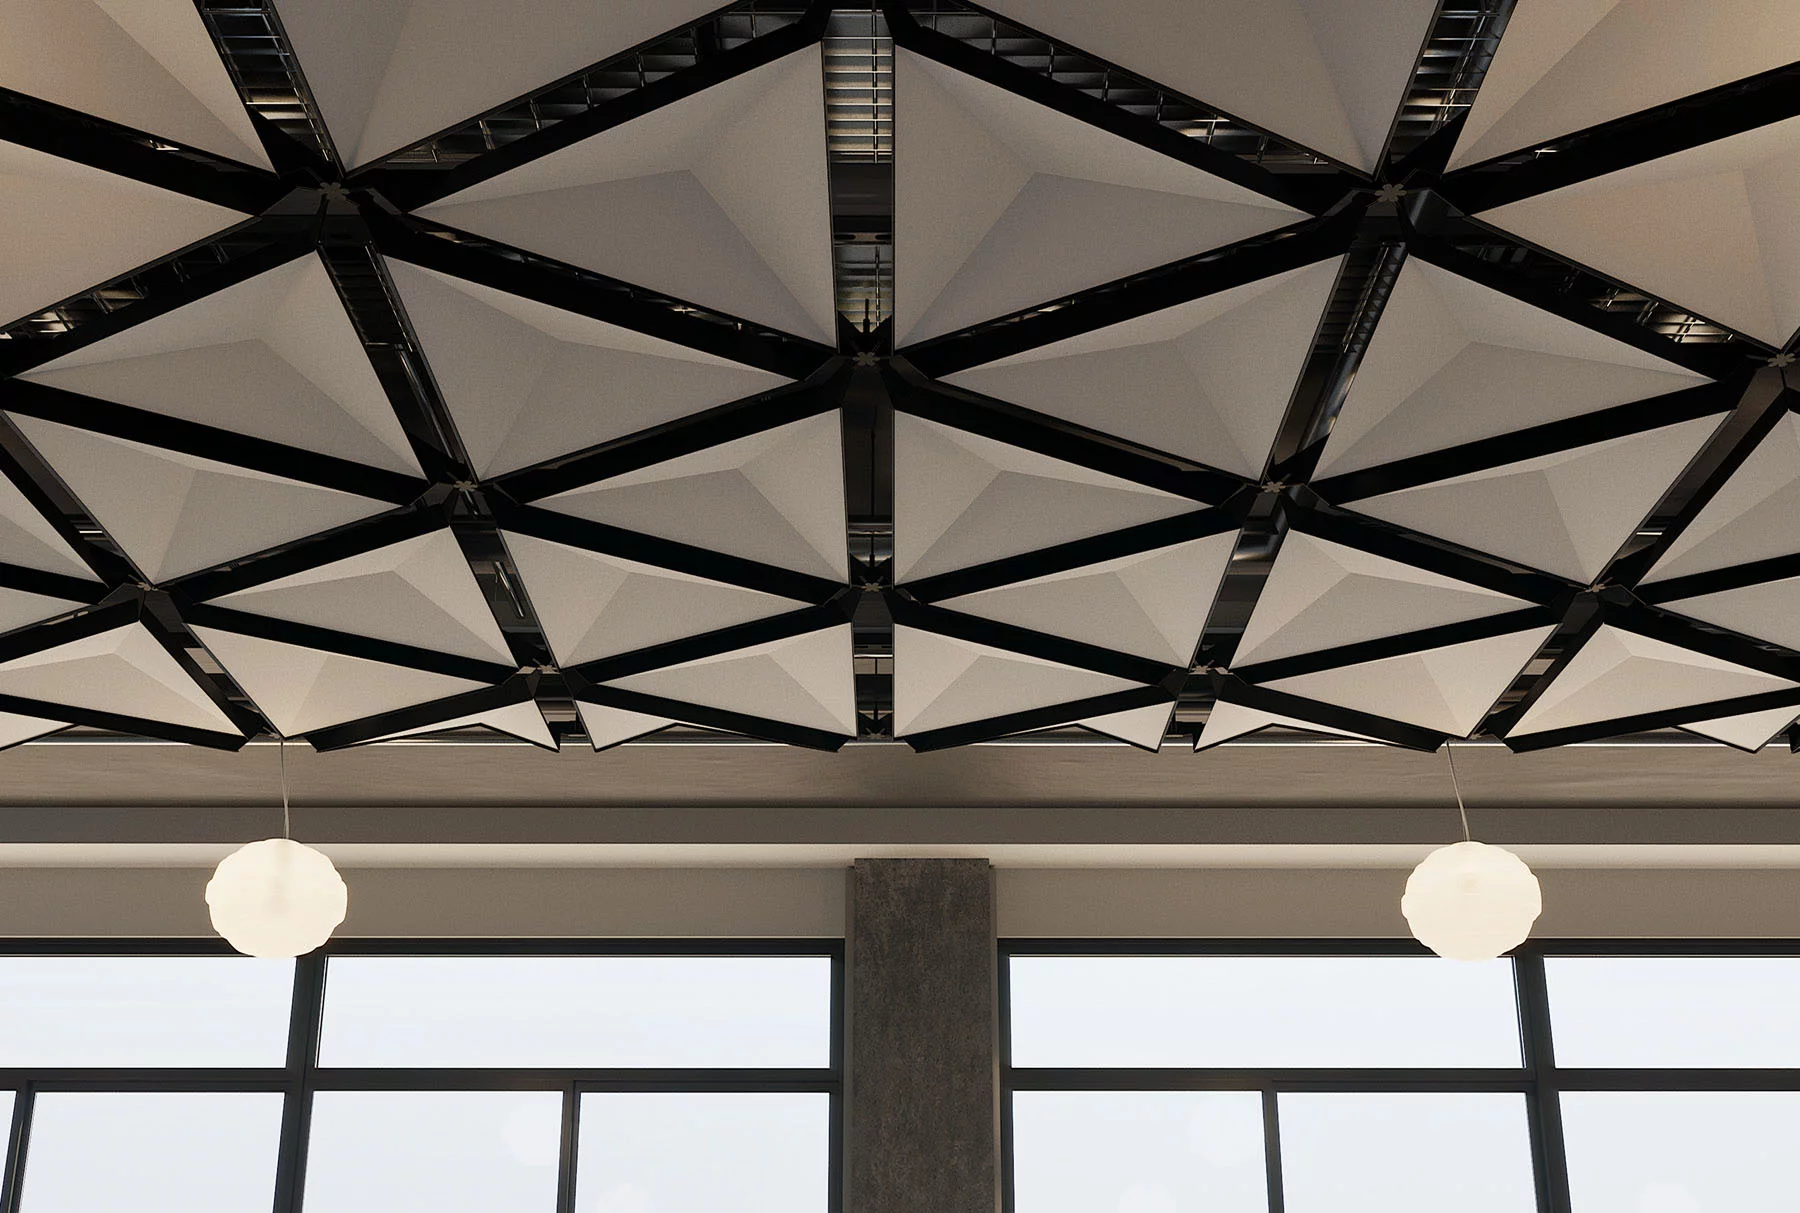
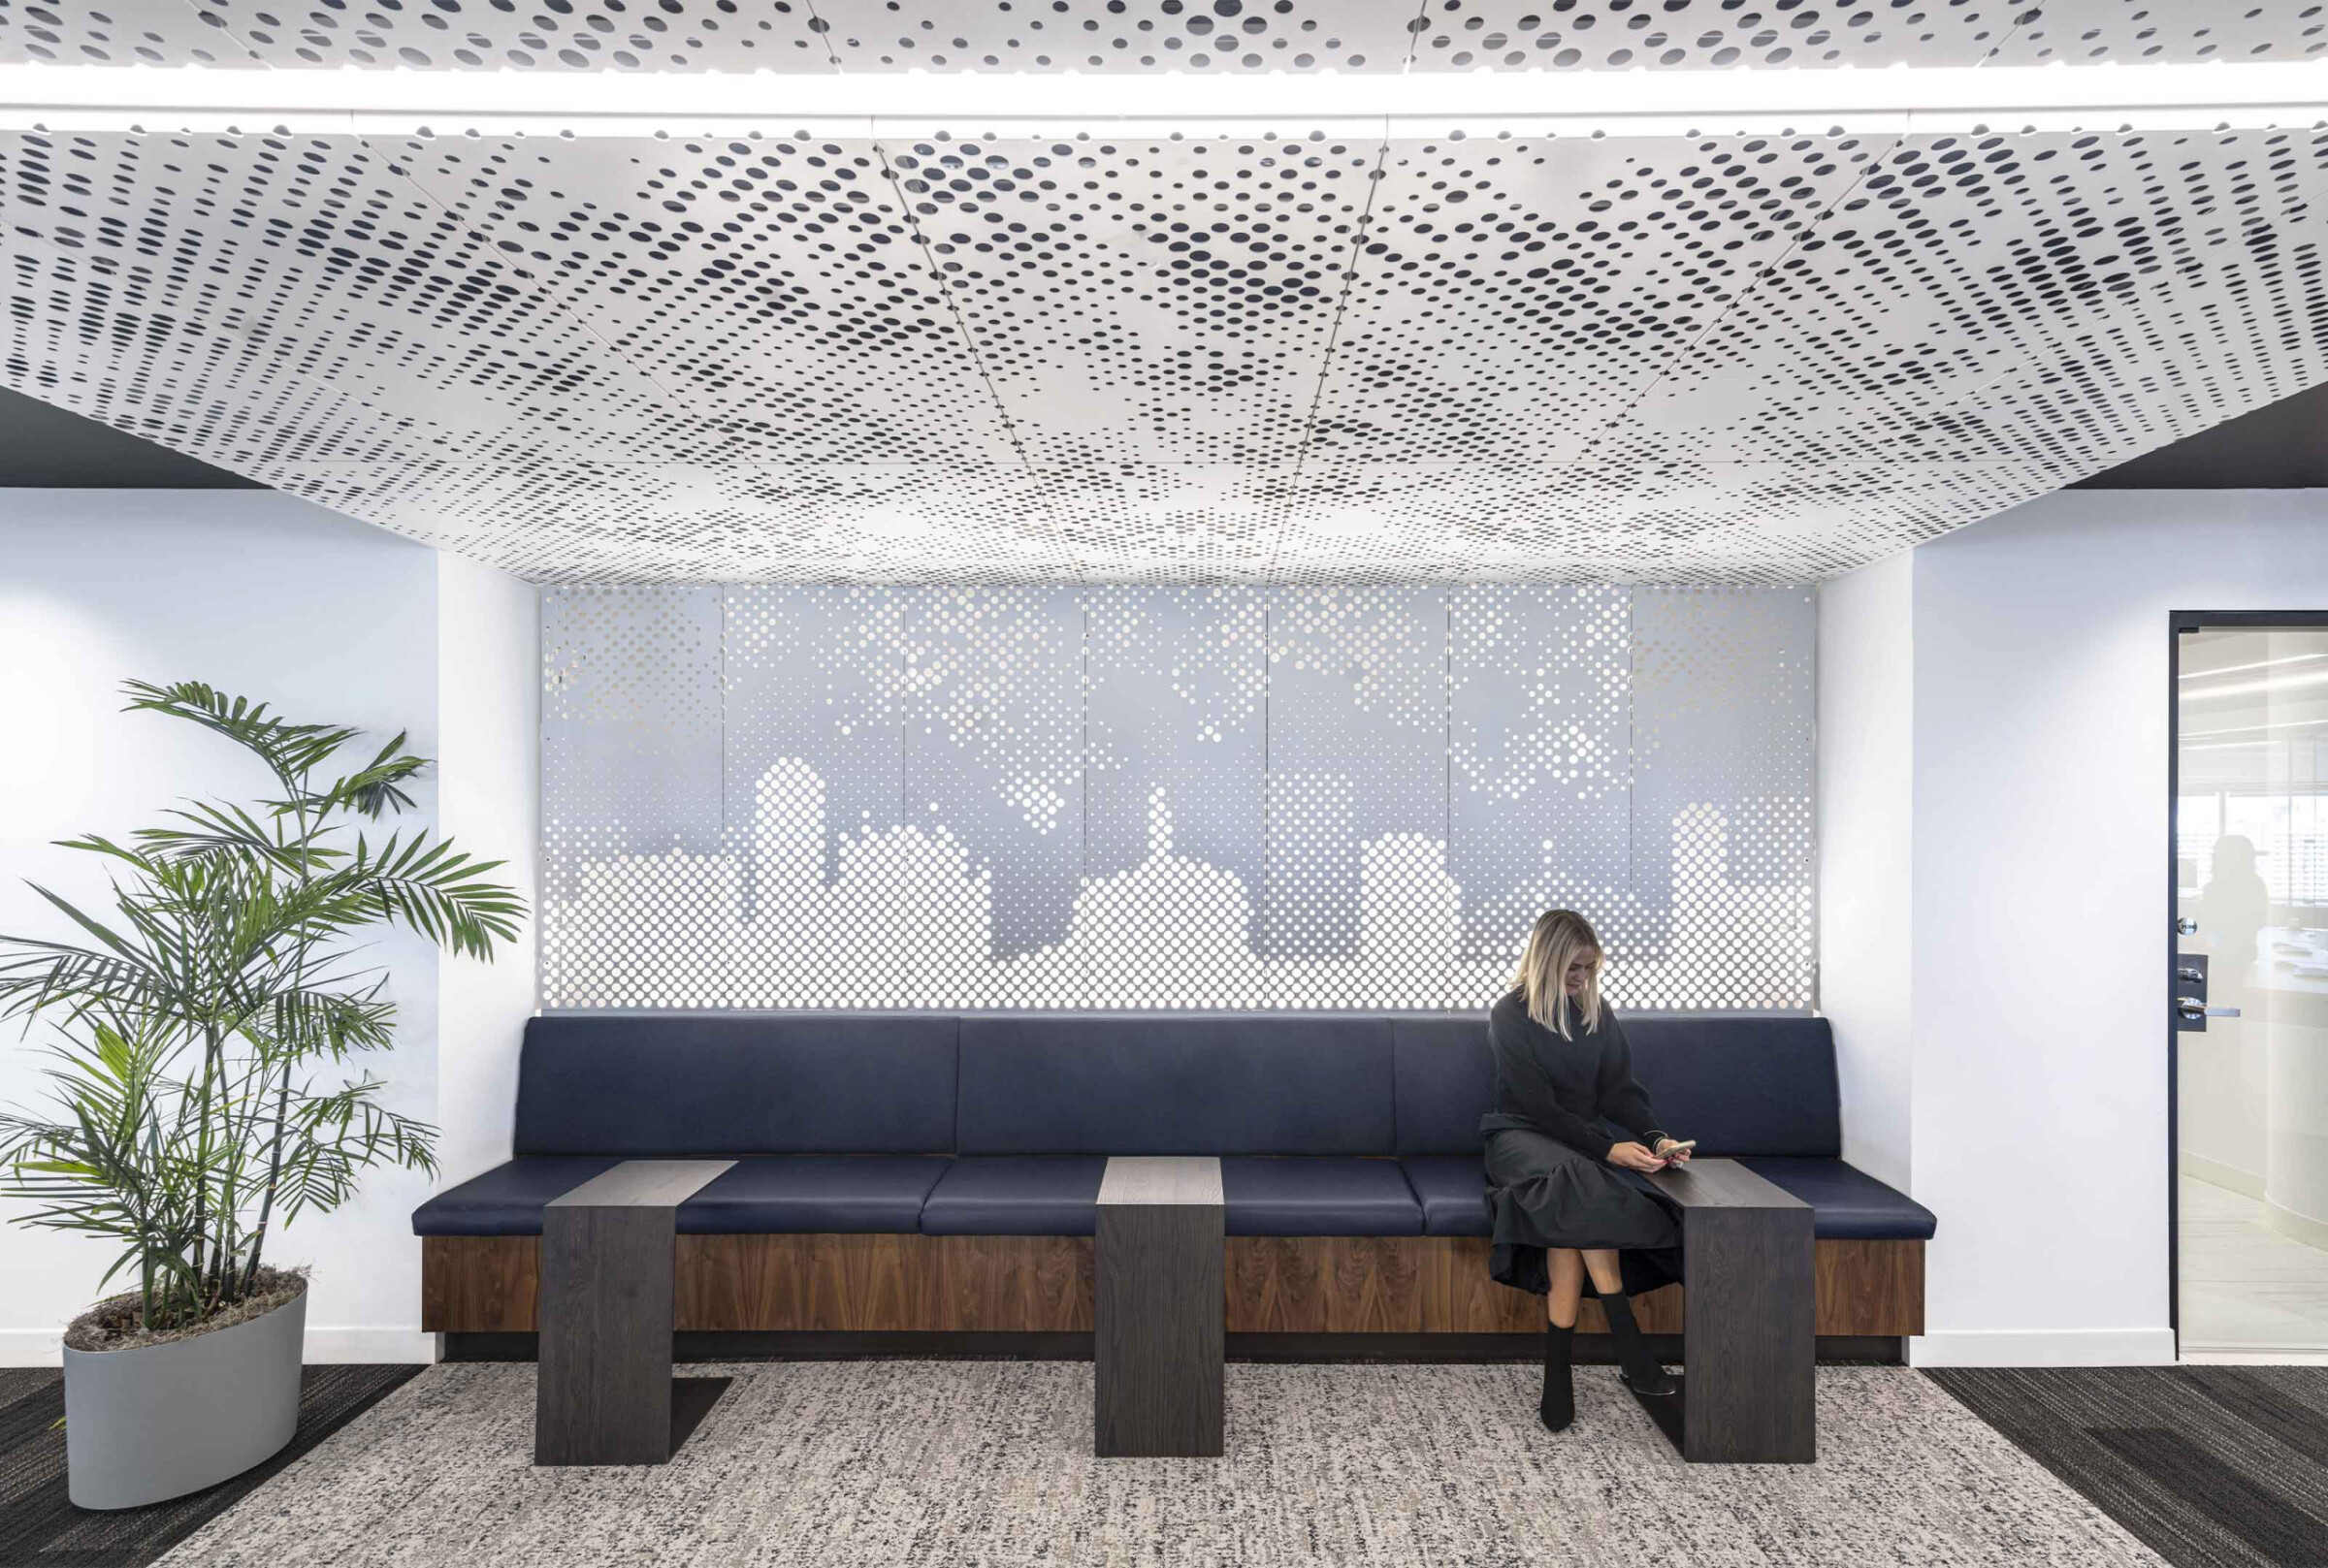
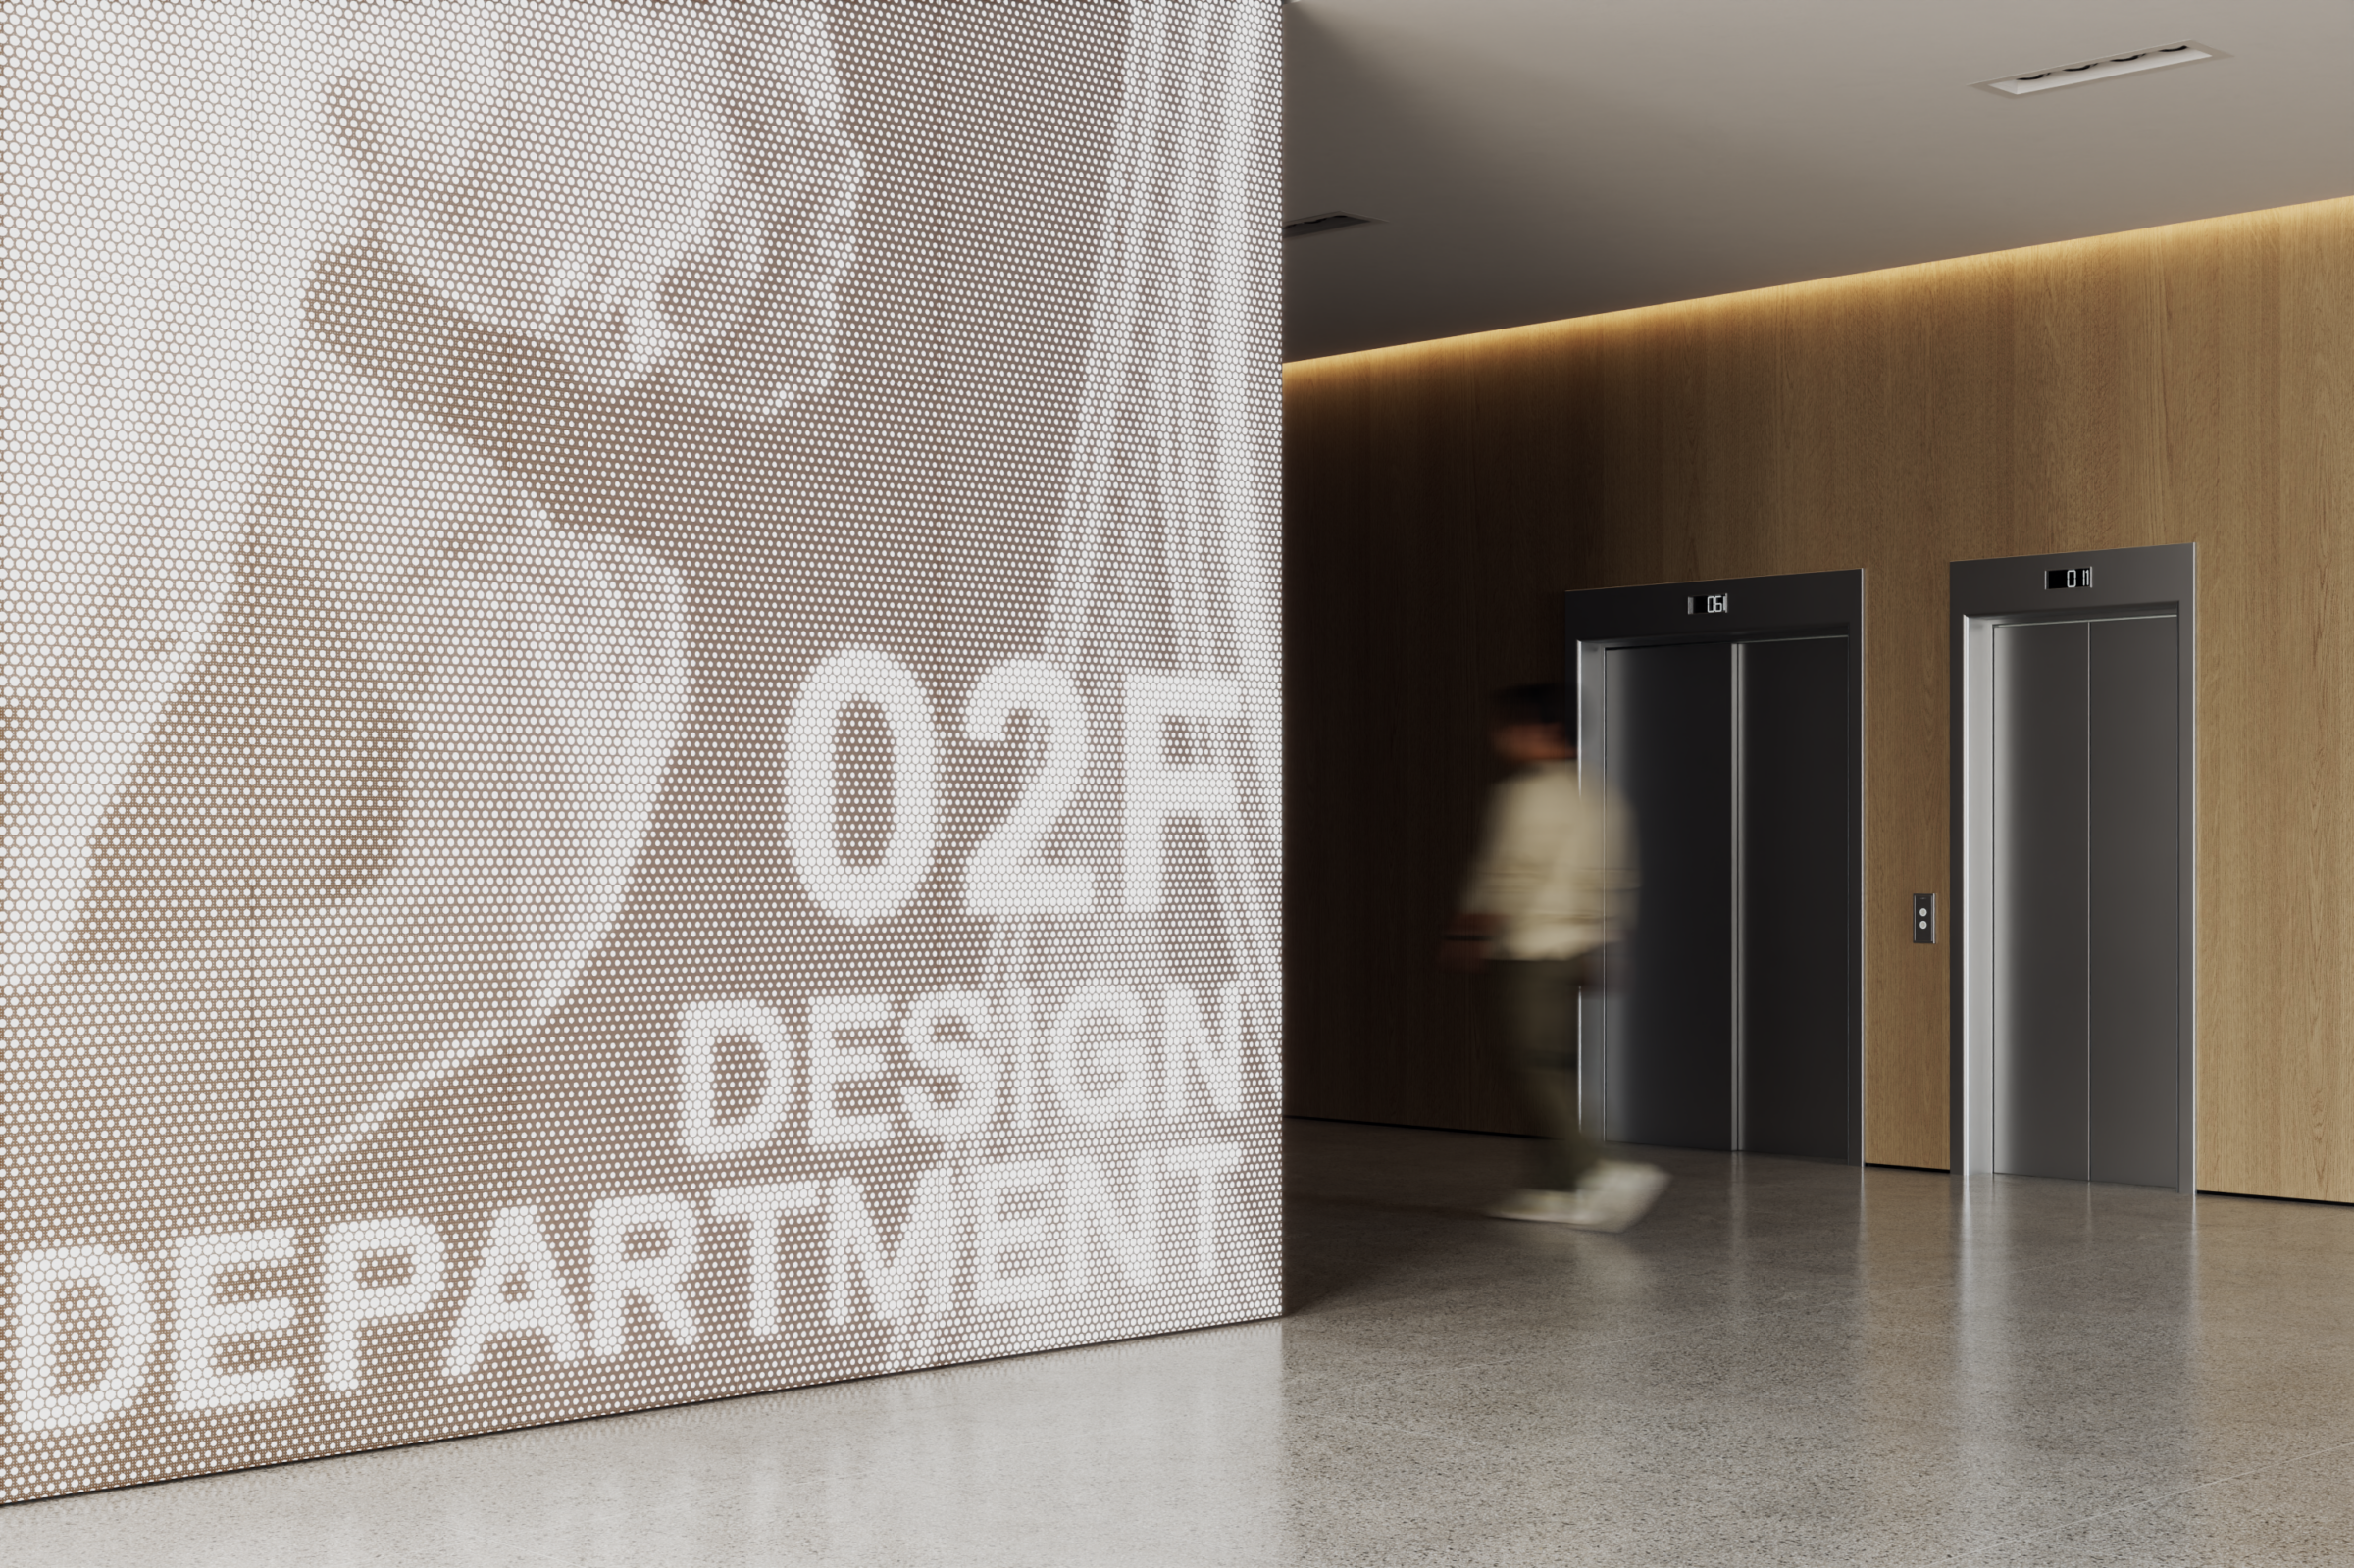
Before opening VEIL Studio, clarify what the perforation pattern needs to do visually. Is it a background texture — regular, quiet, barely noticed? Is it a graphic statement — an image, a brand mark, a gradient? Is it acoustic-first, where the visual is secondary to the NRC performance?
VEIL Studio supports all three approaches. Regular parametric patterns for background applications, image-driven perforations for graphic statements, and density-optimised configurations for acoustic-first specifications.
Step 2: Set the pattern parameters
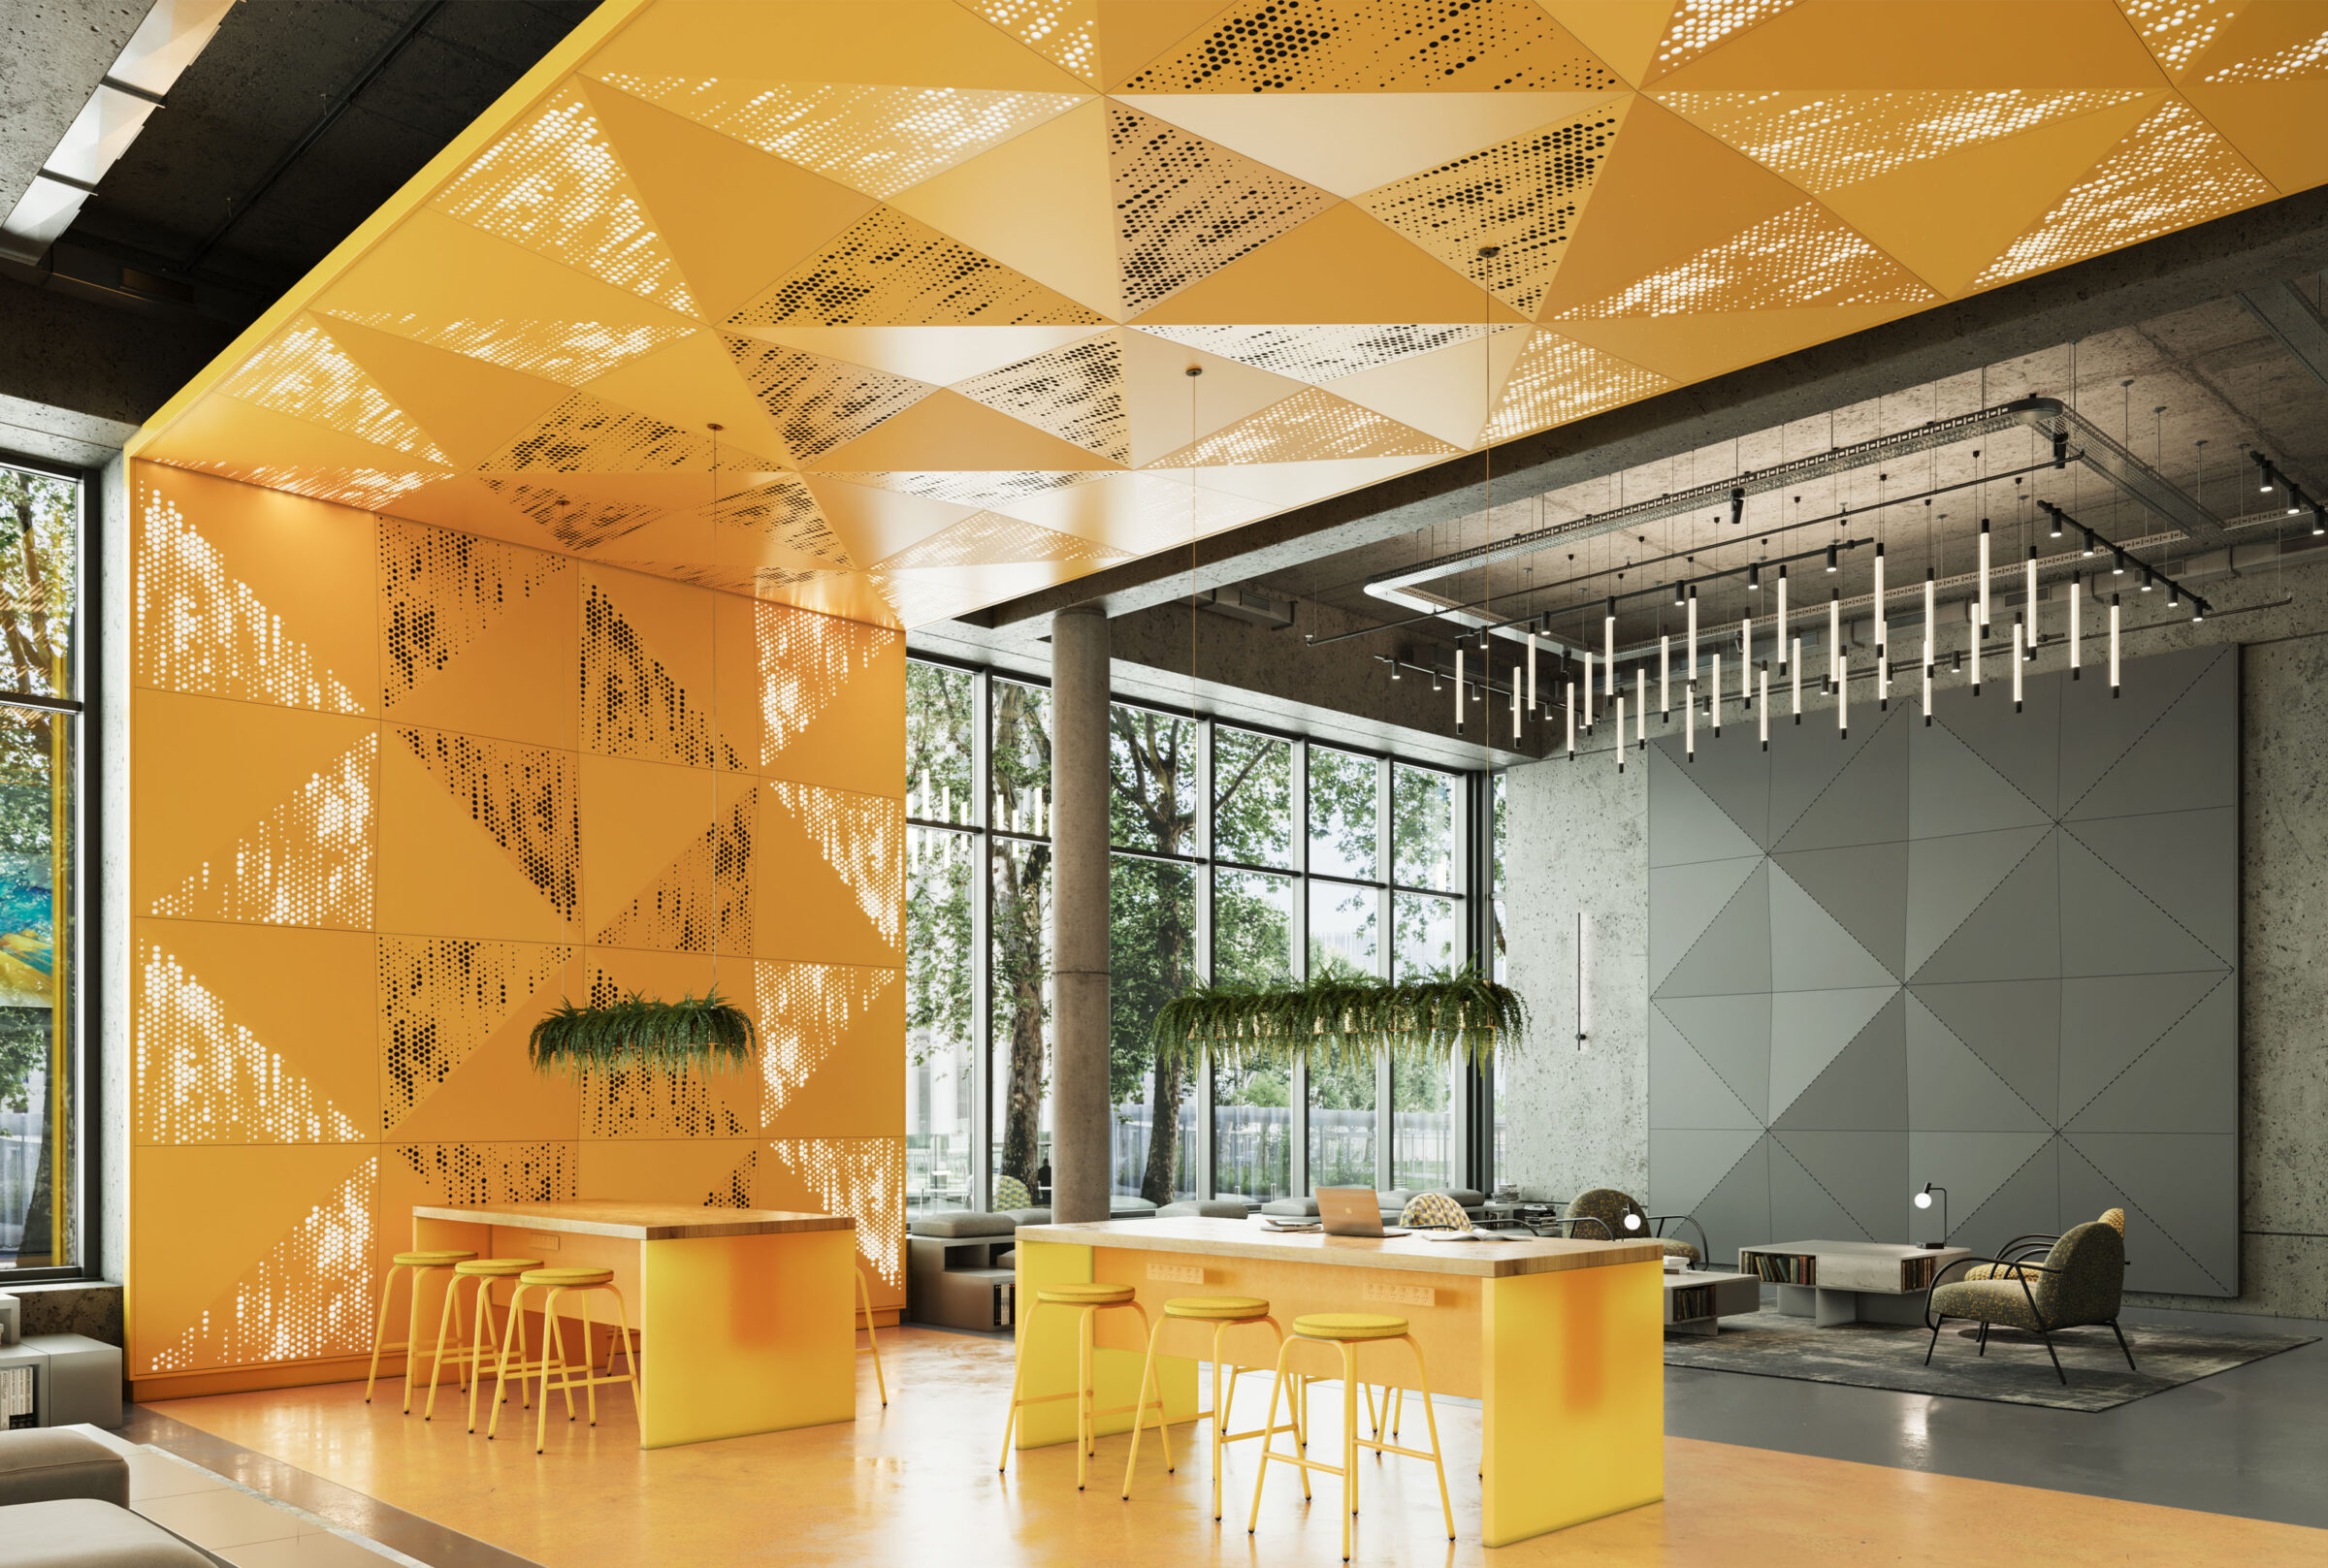
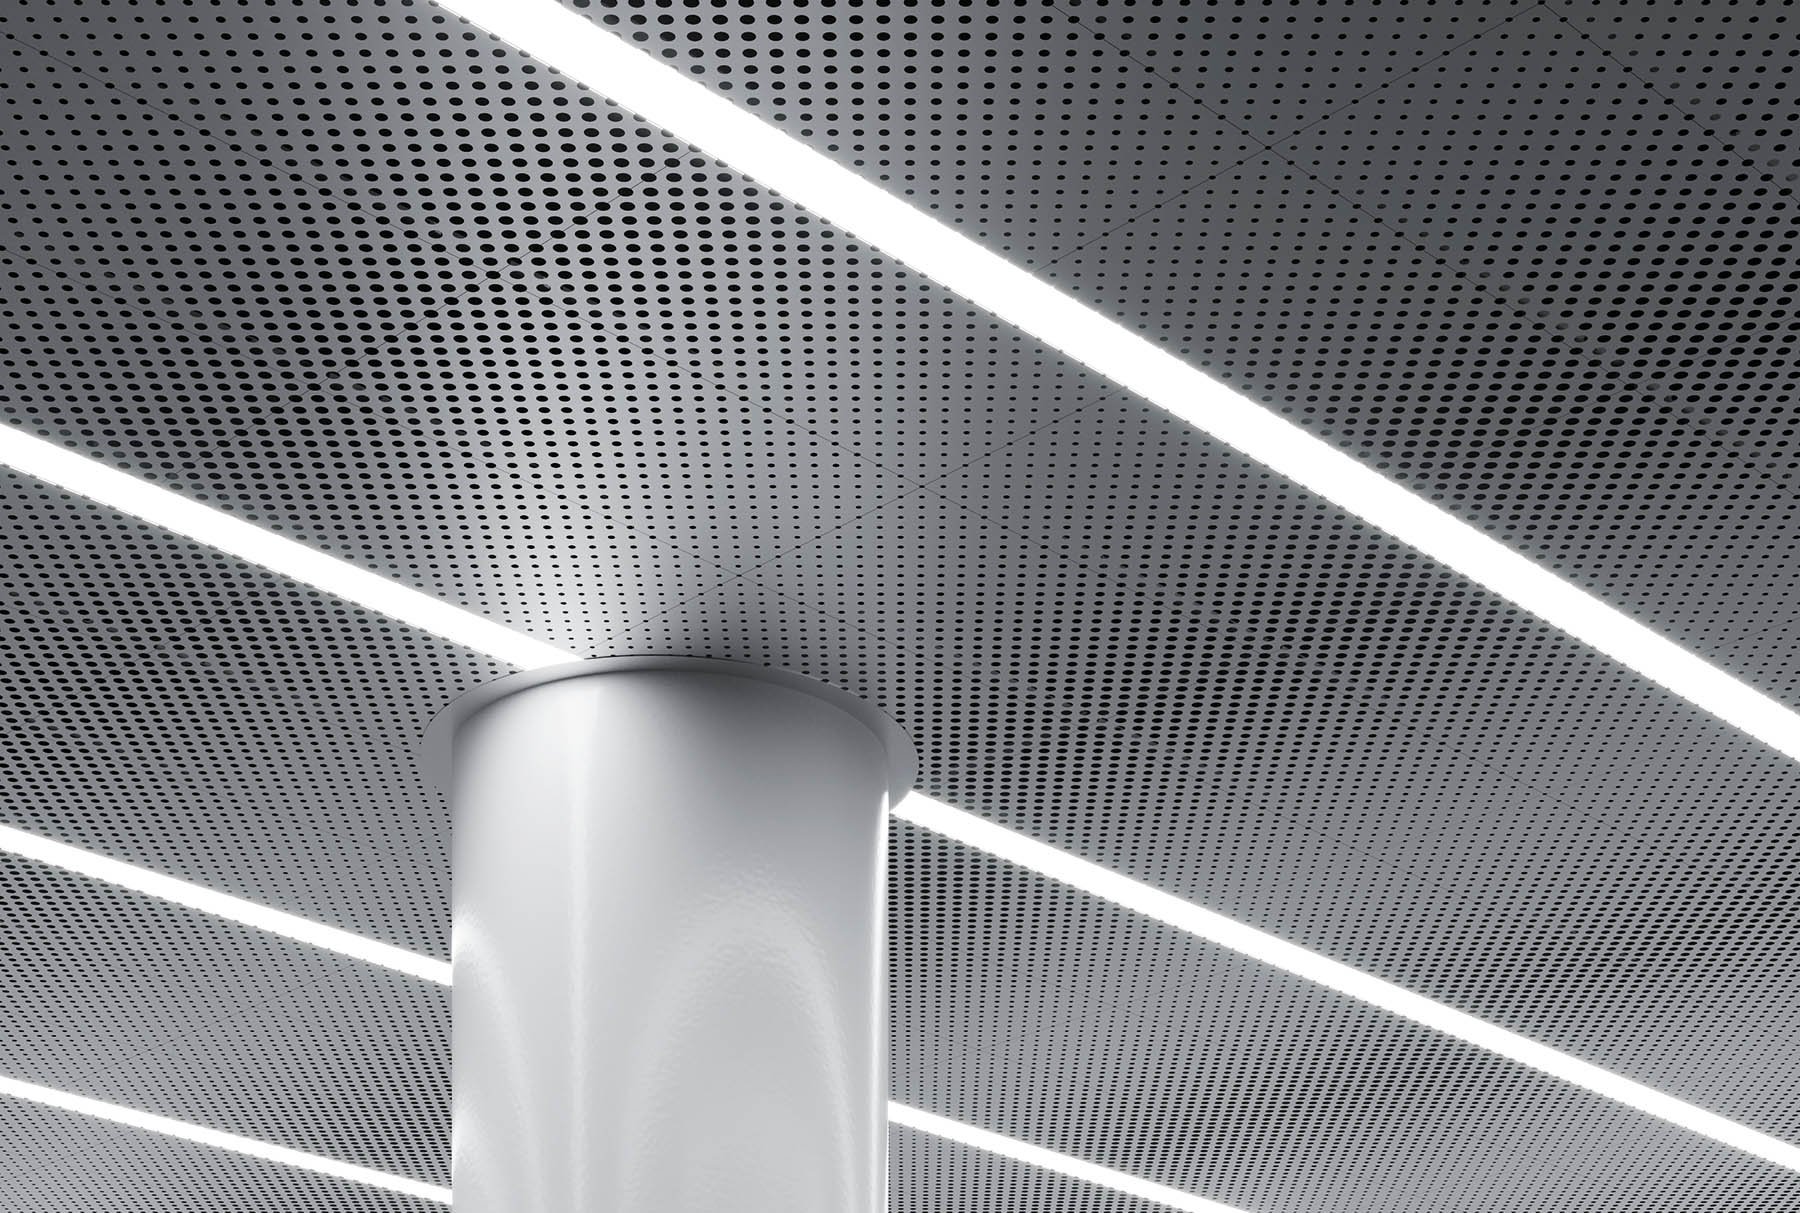
In VEIL Studio, pick any RAL from the full RAL K5 range (default is Anthracite Grey 7016 Semi-Matt). Then set: frequency, mix, pitch, perforation size, attractor positions, and compression. Each control is adjustable in real time — the preview updates as you go.
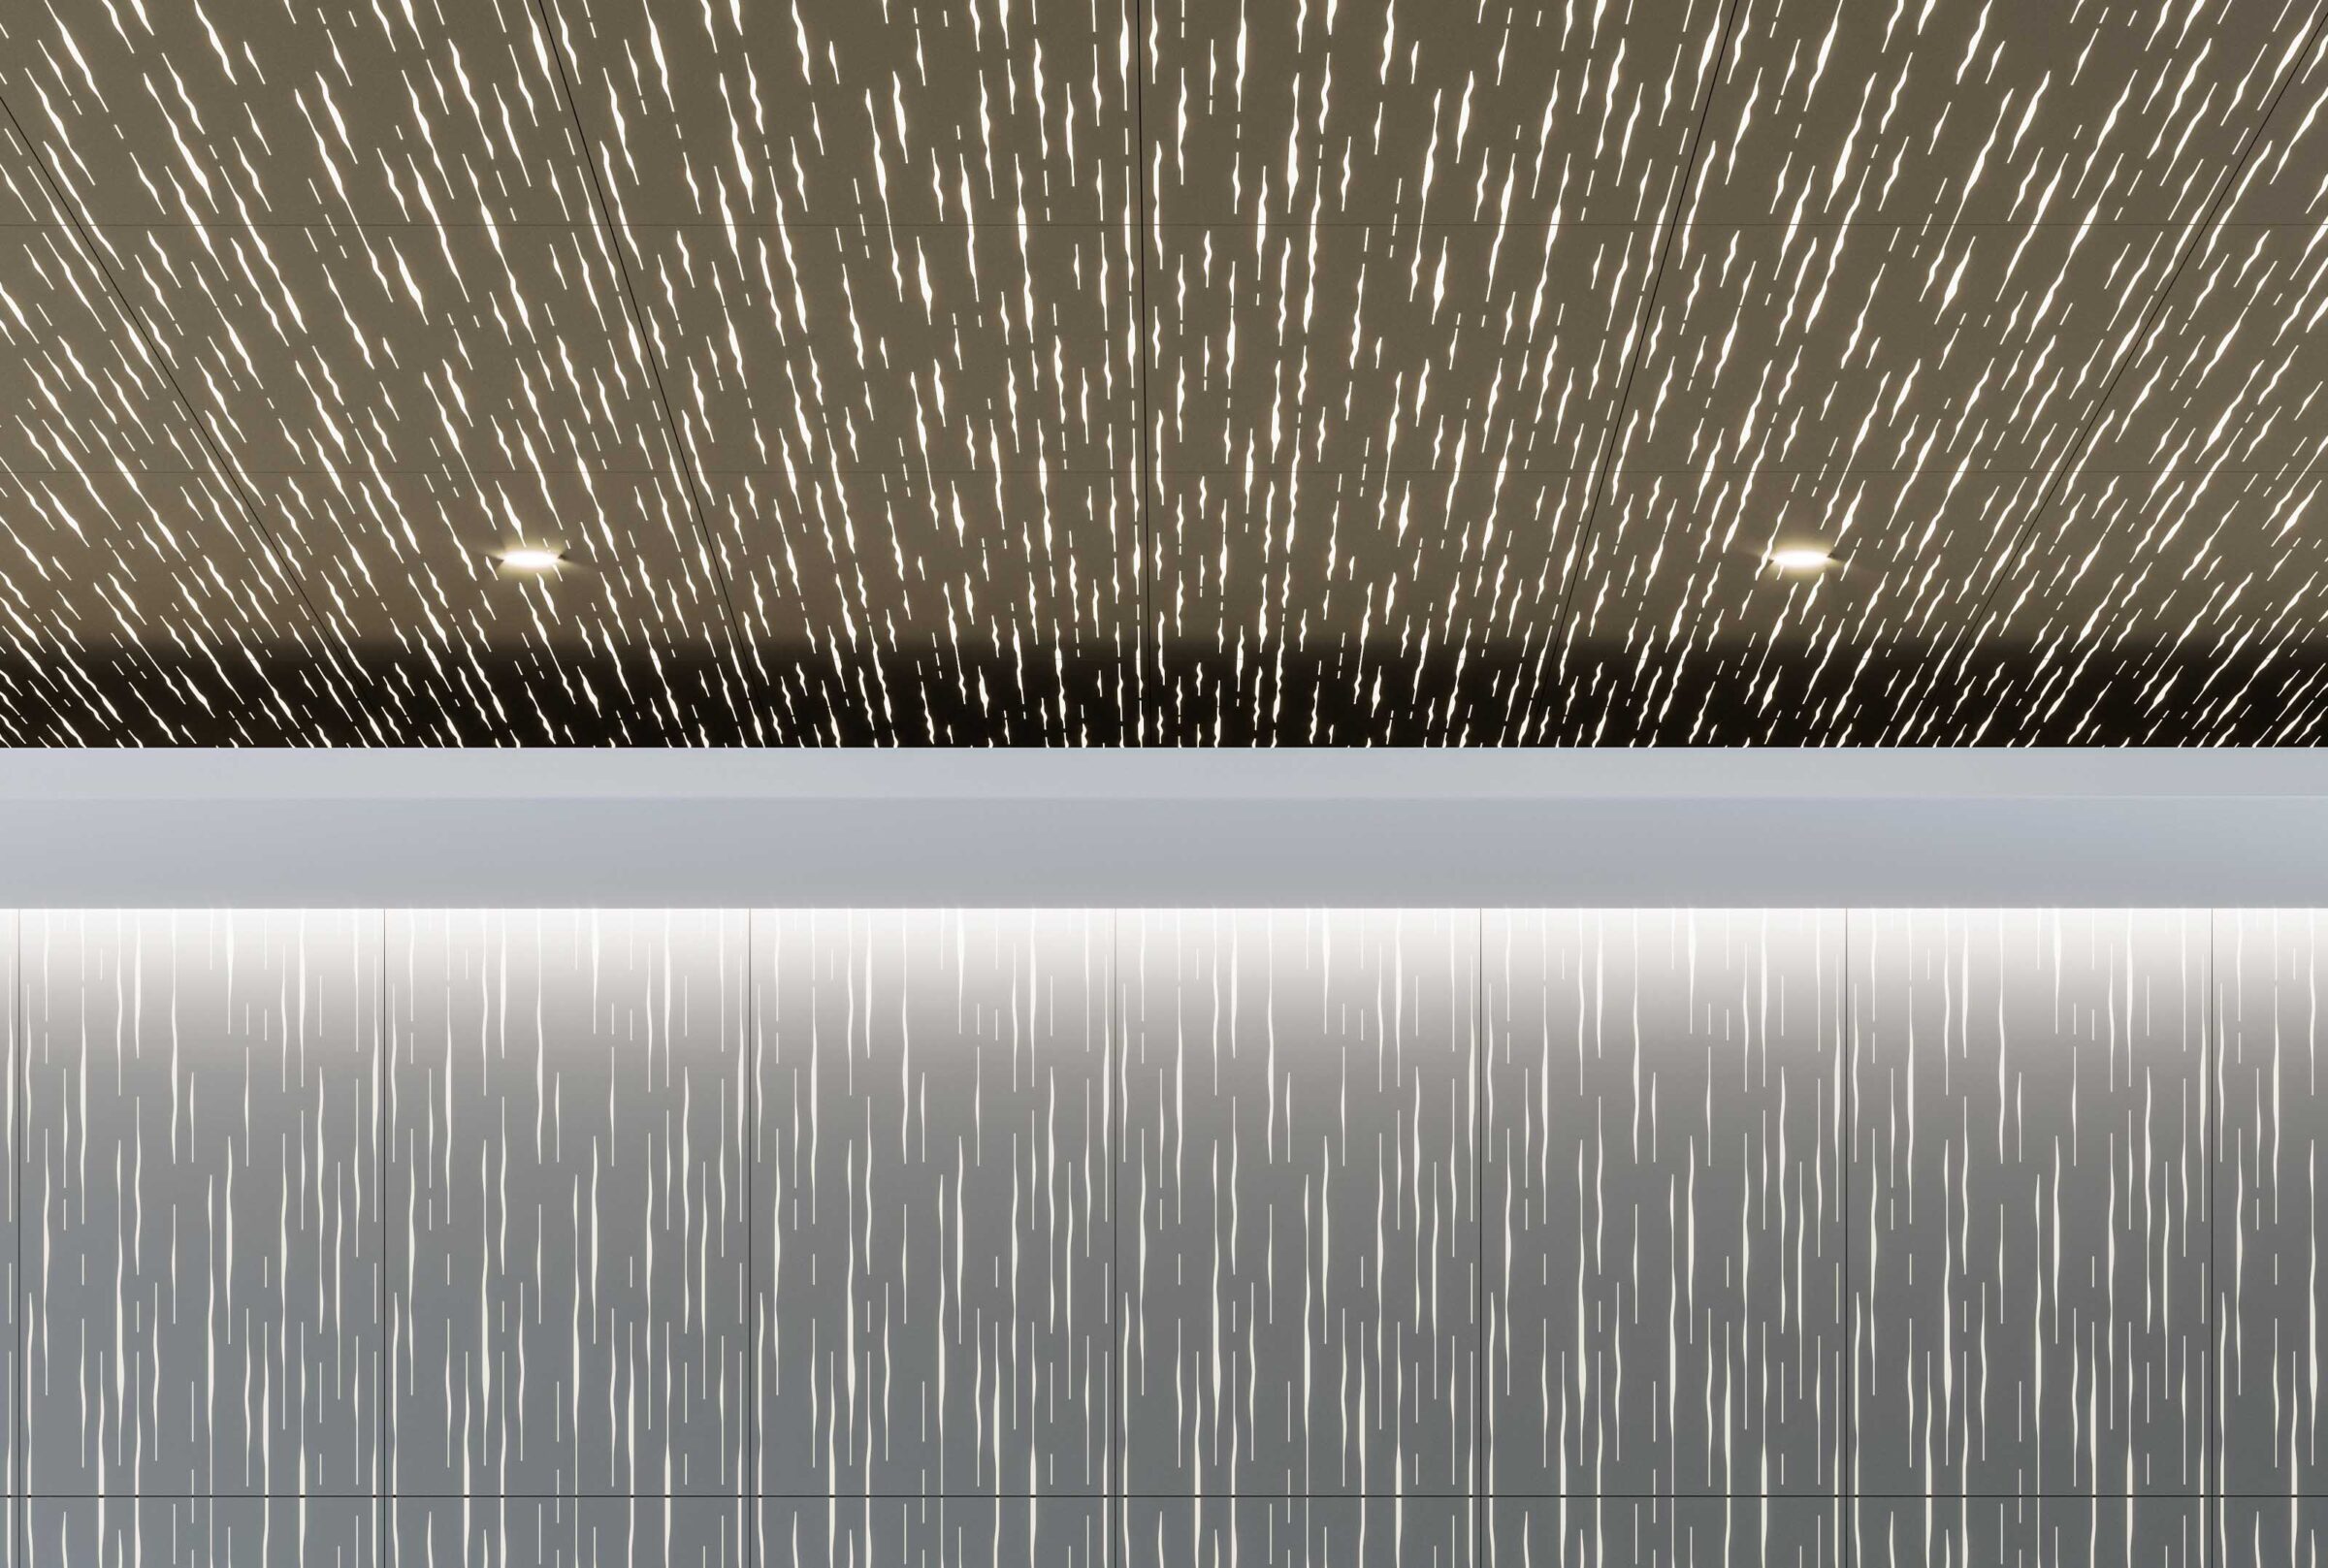
For image-based patterns: drop in the image file and VEIL Studio converts it to a perforation map. Adjust the interpretation parameters to control how faithfully the image reads in the panel.
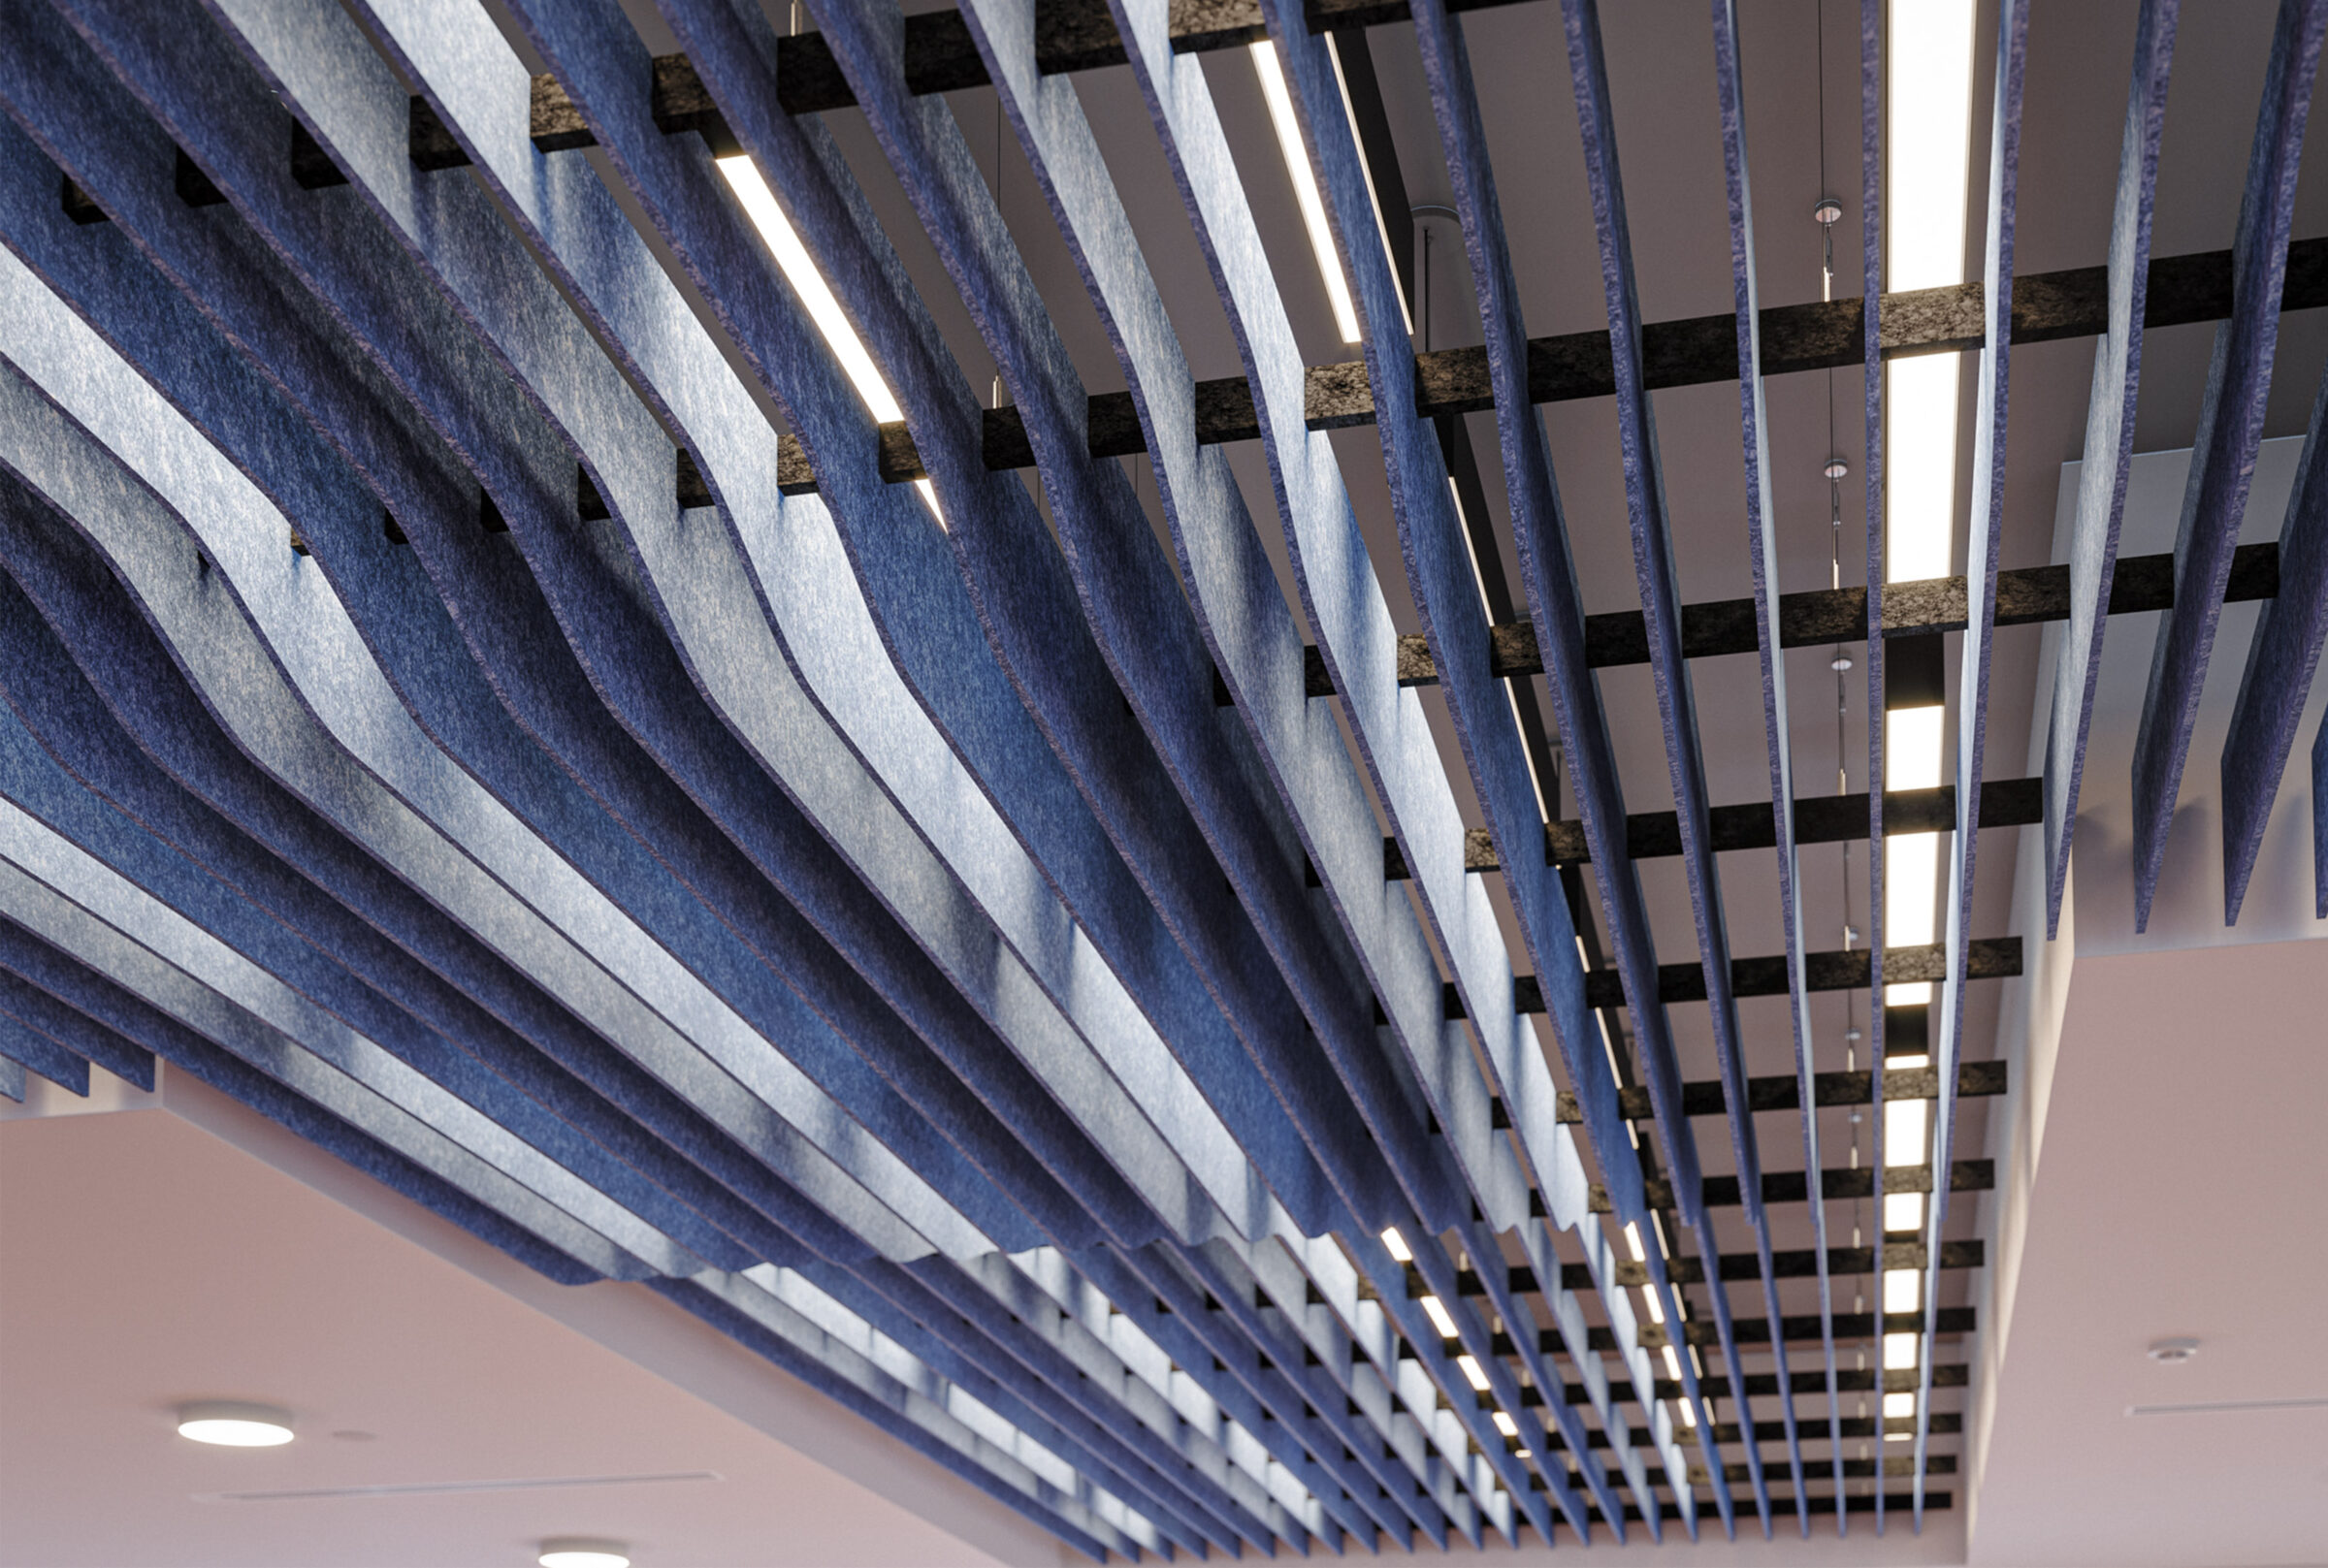
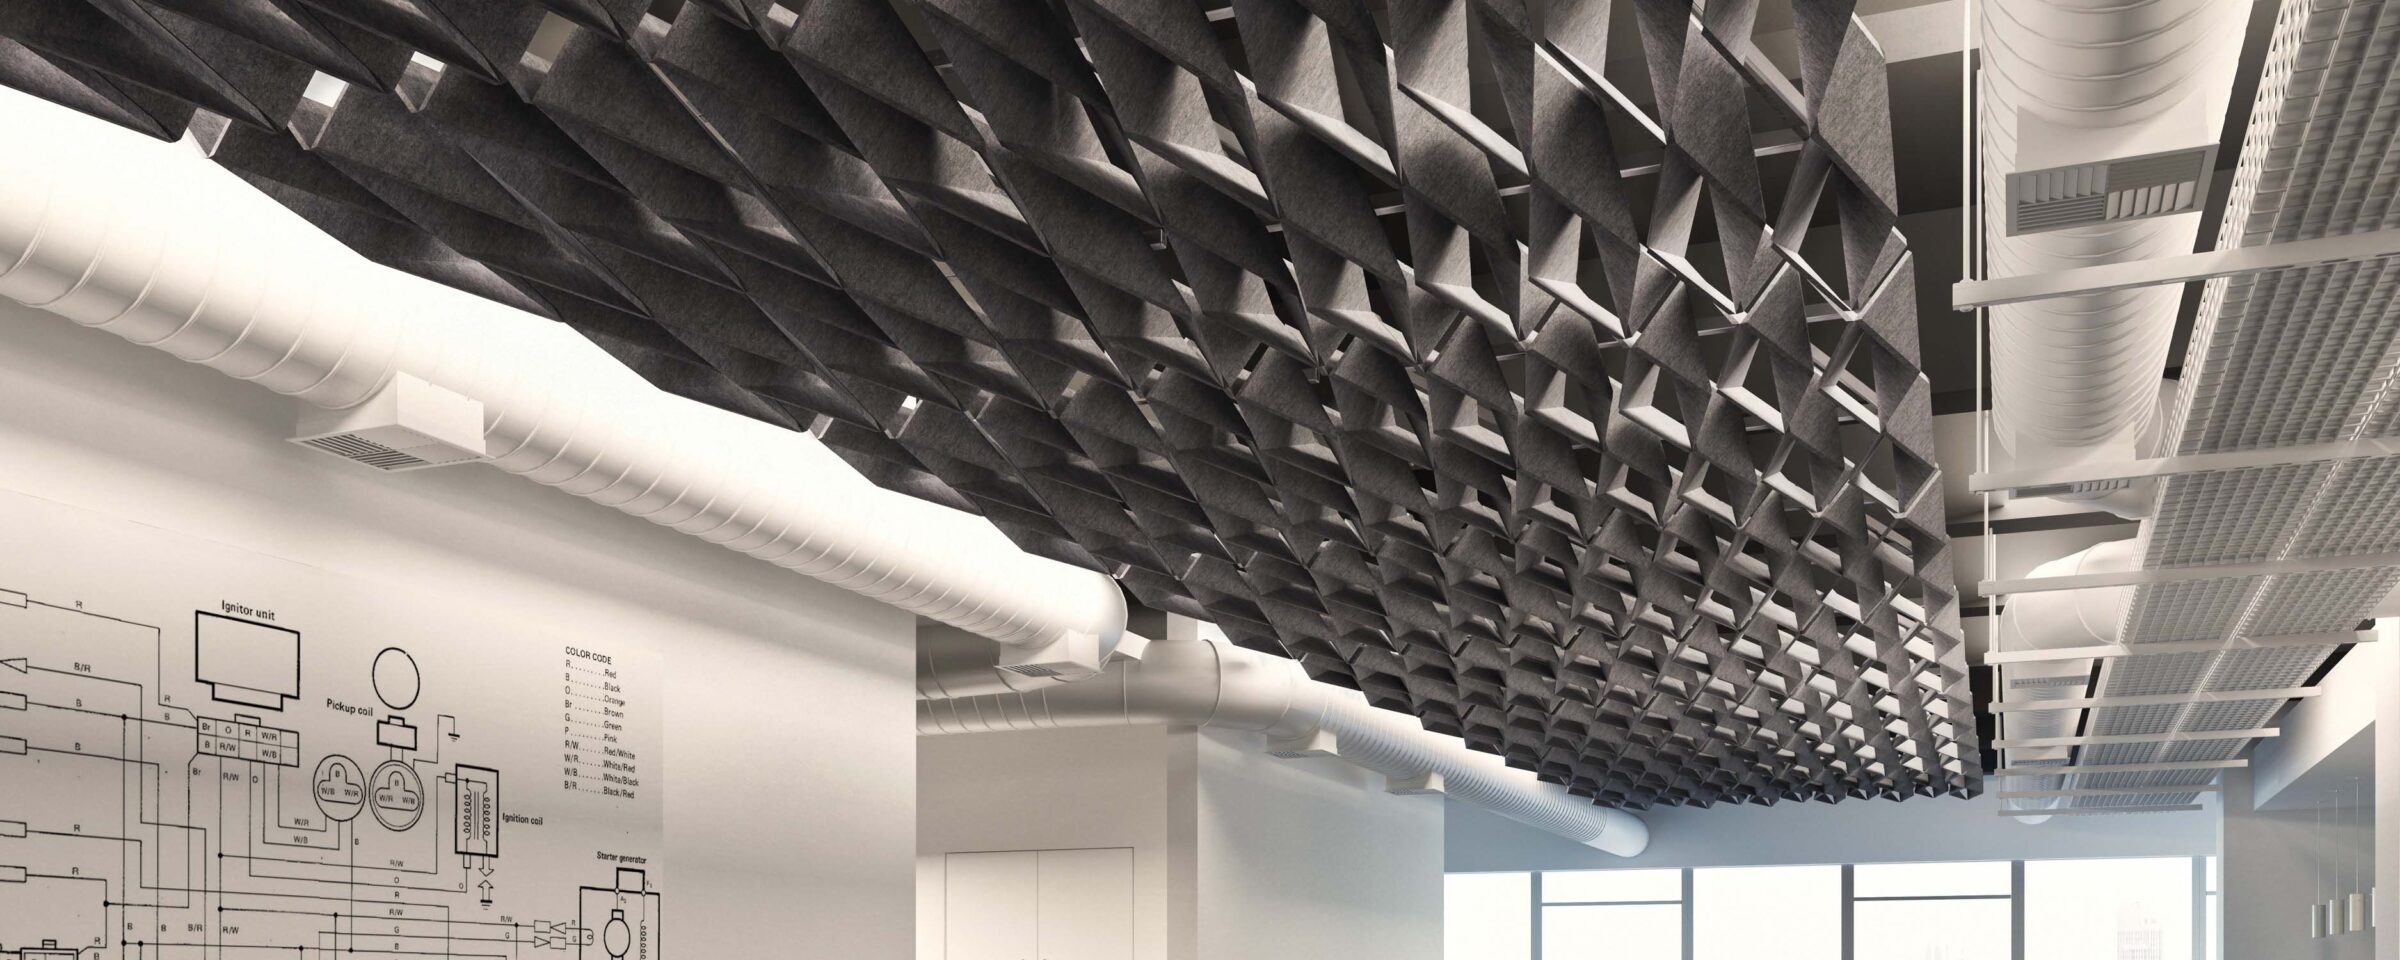
Step 3: Add acoustic or backlit options
Acoustic backing (aSoft, available as face or backer) is specified during the design session — not after. If the space has acoustic performance requirements, specify the backing before generating the DXF. The same applies to integrated backlighting: select the output level (25W, 45W, or 65W) and the colour temperature (2700K–6000K) in VEIL Studio. Both options are engineered into the panel at manufacture.
Step 4: Generate the DXF and quote
When the design is confirmed, VEIL Studio outputs a production-ready DXF and a quote in one click. The DXF goes directly to the laser cutter. No intermediate drawing step. No revision rounds.
Every panel is laser-cut steel, powder-coated to the specified RAL. Panel format is 596 × 1196mm — designed to drop into any standard 600×1200 metric or 2’×4′ imperial ceiling grid. No field modifications. Drawn in minutes. Made in days. Shipped in weeks. The hard work happens in our factory. The simple part is yours.